So, you’re looking for the best sample manager out there?
If you’re anything like me, you spend way too much time downloading and buying sample packs.
And when it comes time to find the perfect kick or snare, you get lost in a sea of folders. You return to the same folders again and again, using only a fraction of your library.
A sample manager is the best way to remedy this. Practically, a sample manager lets you easily organize and browse your samples. However, they are not all built the same, and features can vary wildly. So in this guide, we’ll cover everything you need to know to make the most out of your sample library 🙏
Ready? Let’s get started 👇
What is a Sample Manager?
First things first, what is a sample manager?
A sample manager, also called a sample librarian, is a tool that organizes your samples for you.
Traditionally, a DAW will show you a list of folders and files. Samples are simply grouped by sample packs, and maybe sub-folders you’ve created:

Here, your options are limited if you’re searching for something specific. Looking for a bass loop in E minor? Your only option is to look in every sample pack individually 😅
A sample manager re-organizes your entire library to make it more intuitive to navigate.
It adds a layer of metadata to your samples. This lets you easily browse by key, BPM, instrument, or any other feature the sample manager can detect.

Suddenly, you can search samples by BPM, mood, energy, type of instrument, and more! This can be a source of creativity in itself because you will now have “access” to samples you never used before.
Common Features of a Sample Manager
Before covering my favorite sample manager plugins, let’s look at their most important features. This doesn’t mean every sample manager should have all of these features. But it will give you an idea of what a sample manager can do. You can then decide which features are the most important to you.
Categorization and Tagging
This is probably the most important feature of all.
A good sample manager should create enough categories to make your library useful and searchable.

For example, if your sample manager can only differentiate between “drums” and “instrument”, that’s not going to be very helpful. However, if it can create 10 different categories for different types of guitars, you’re onto something. Likewise, it should be able to separate one-shots, loops, and MIDI patterns.
Many sample organizers will use the text in the name of your sample to create categories. Others actually use AI to analyze and identify the characteristics of samples. But more on those later 👀.
Some of the most essential categories include:
- BPM
- Key
- Instrument type (synth, piano, guitar, electric bass, etc.)
- Loop vs. One-shot
Additionally, you should also be able to add your own tags. For example, you might want to create a tag “Night time”. You then assign this tag to any sample that evokes the night for you, whether a pad, a synth, or a vocal:

DAW integration
Most people will prefer to have a sample manager that integrates seamlessly into their DAW.
However, many sample managers actually run as standalone apps.
Depending on your workflow, this might work for you or not. The major advantage of an integrated plugin is that you can often playback samples in the context of your track. You can also directly play samples with your MIDI keyboard.
If your sample manager runs outside of your DAW, then you will need to drag the sample back into your DAW.
Pricing options
Let’s not skip over the important concept of… money 😅
Practically, sample manager plugins can be categorized into 3 different buckets:
- Free
- One-time payment
- Subscription model
Some options, such as XO by XLN, are available on the Splice rent-to-own program.

Additional Features
Each sample manager will have its own features depending on how it was built.
Some will analyze your samples in detail, providing additional categories such as “Brightness” or “Timbre”.
Others will let you “favorite” samples for quick access later on.
Some even let you manipulate samples directly inside the plugin. For example, you might be able to loop certain sections of a sample, reverse it, or even apply filters.
Looking to organize and curate your samples manually? Check out our full guide on that here.
Sample Manager #1: COSMOS by Waves
Starting off this list with COSMOS by Waves:

COSMOS advertises itself as using “AI to sort and auto-tag all the samples on your hard drive”.
This means that even if your sample name is “C#7dim_loop.wav”, Cosmos knows what instrument it is.
It then categorizes and assigns tags for the type of instrument, genre, key BPM, and more. You can combine multiple tags to narrow down your search, and then save samples in custom collections.

However, what truly sets COSMOS apart is its cluster view. Unlike a traditional list of samples, the cluster shows you a “map” of all your samples. You can then decide to group samples by instrument, space, dynamics and more:

This is a really smart feature that allows you to quickly find similar samples.
Other notable features of COSMOS include:
- only available as a standalone app
- Compatible with WAV, AIF, OGG, and FLAC (not MP3)
- Create custom collections and favorites
- Comes with 2,500 royalty-free samples
- Maximum length of samples: 60s
Check out COSMOS here (USD 19.99 at time of writing)
Sample Manager #2: Sononym
Sononym is another AI-based sample browser:

Practically, Sononym uses machine learning to analyze, organize, and suggest similar samples.
One really cool feature is the “search by similarity” button:

This basically scans your entire library and finds similar samples. Perfect if you need to browse similar snares for example 😅
But it doesn’t stop there. Sononym also displays an “Aspect dial”, which allows you to fine-tune the similarity search. Let’s look at a quick example. I’ve selected a percussion sample and asked Sononym to show me similar samples.
At the top-right is the Aspects dial, which scores the similarity of the sample on different metrics:

For each sample you audition, you can check how similar they are in pitch, timbre, amplitude, etc. You can then adjust each of these metrics. For example, you could drag the Pitch all the way to 100% if you want to find samples that are exactly similar in pitch.
This is a feature that we haven’t found in any other plugin, and makes Sononym unique on the market.
Other notable features include:
- Record audio and find similar samples
- AI-based analysis and tagging
- 30-day fully functional free trial
Check out Sononym here (USD 99)
Sample Manager #3: ADSR Sample Manager (FREE)
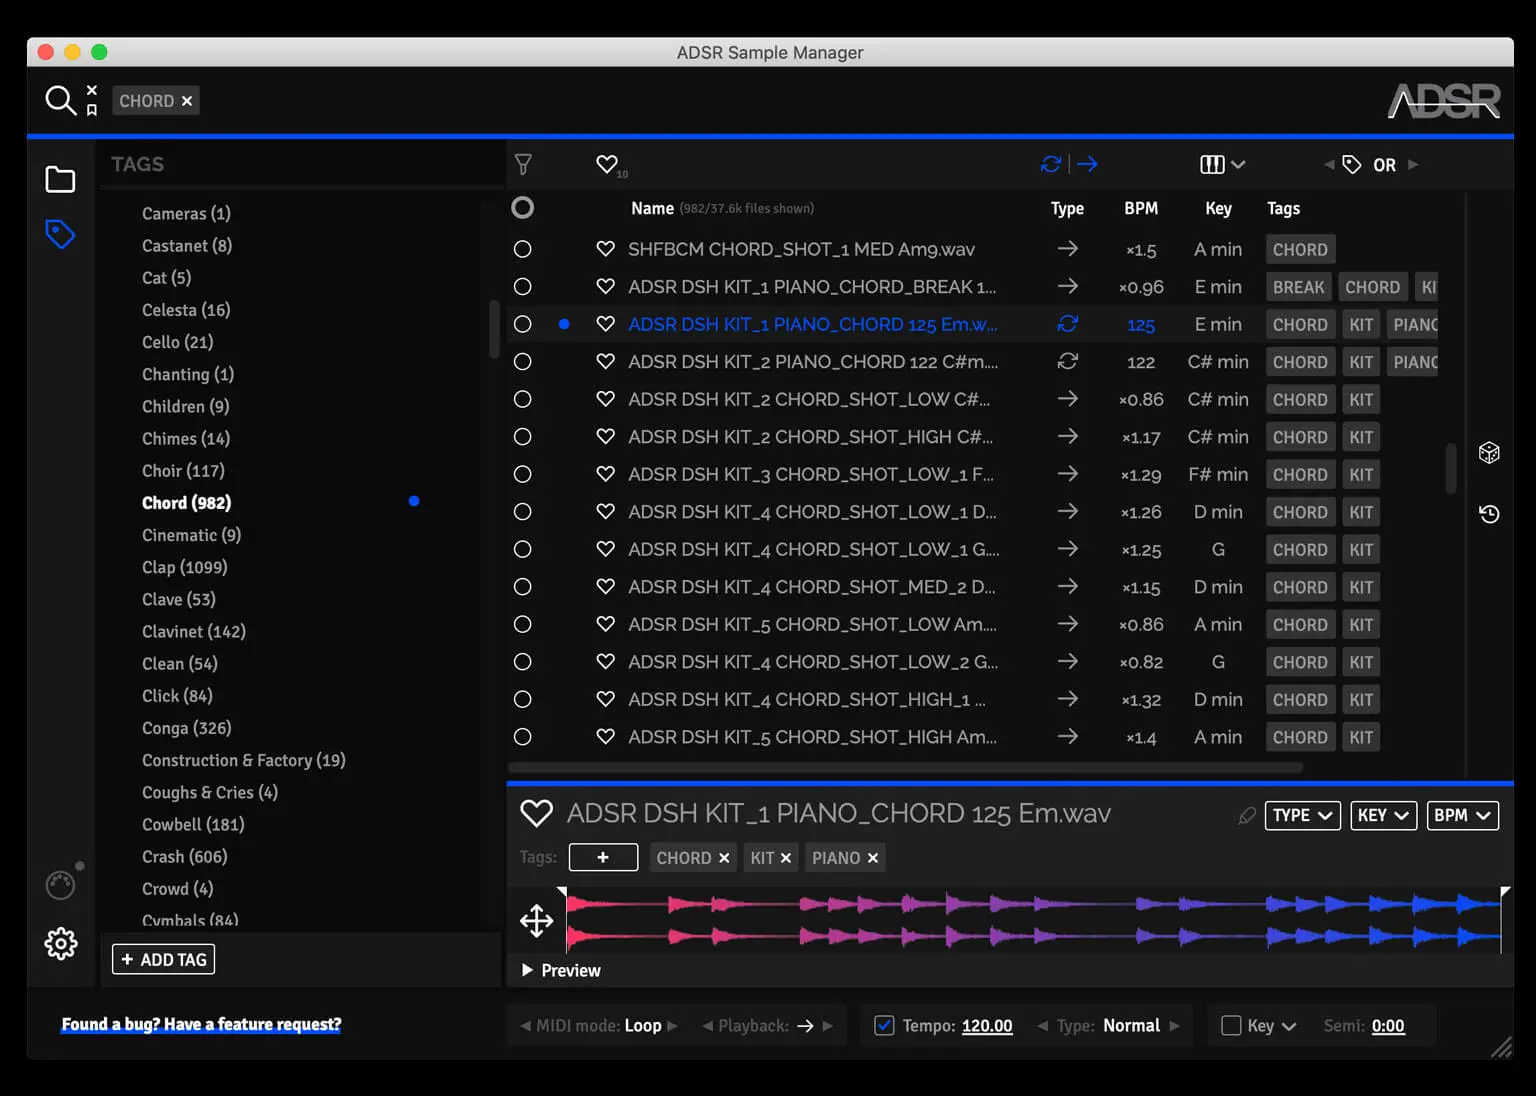
Finally, let’s look at ADSR Sample Manager:

The first thing to mention is that ADSR SM is free 😍.
But how does it compare to other options on this list? Actually, rather well. For starters, ADSR SM opens up as a plugin directly in your DAW. This means you can audition samples while your project is playing. This also means that any loop you play will automatically stretch to your project’s BPM.
Overall, ADSR SM does a good job at detecting and tagging samples. However, it can only use the text within the name of the sample. This means that if a sample does not have the BPM or key in its name, it will not be able to tag them.
You also get a basic editor which lets you apply loop points to a sample.
You can also fade in and fade out your loop points, adjust the gain, and apply both a LP and HP filter. It should be noted however that I’ve personally had mixed results with the filter:

Other notable features include:
- Available as both a standalone app and plugin
- Sync key and BPM to your project
- Waveform display
- Free 😍
That’s It for This Guide on the Best Sample Manager Plugins!
That’s a wrap for this guide! Hopefully you found it useful, and won’t get lost anymore in a sea of samples 😅
Did we miss out on anything? What is your favorite way to stay organized with your samples? Let us know over at [email protected]


