Granular synthesis is a super fun way to create never-heard-before sounds.
But the interfaces on many granular synths are confusing, and you can feel overwhelmed.
So in this guide, we’ll cover everything you need to know about granular synthesis and FX, including:
- Understanding the basic controls so you can make sounds with confidence
- The importance of the sample you use (and how to find the right sounds)
- Options for granular synth plugins and VSTs that suit your needs
Let’s start with what granular synthesis is! But first, grab our free Foley Sample Pack so you can have plenty of material to load up!👇
Table Of Contents
- What is Granular Synthesis?
- The Basics of Granular Synthesis
- Examples Of Granular Synthesis in Action
- The Best Granular Synth VST Plugins (Free & Paid)
What is Granular Synthesis (& Why Is It So Unique)?
In a world of subtractive, additive, wavetable, and FM synthesis, granular synthesis feels a little niche.
Traditional synths use oscillators, waves, and tones to generate sound, whereas granular synths use audio samples. It slices anything up into grains, rearranging them rapidly changing patterns.
Because of this, you can create completely different sounds that you otherwise couldn’t achieve.
This is why granular synthesis is known for its glitchy nature and is used a lot in genres like Glitch Hop, Neurofunk, and IDM.
But you can use it any genre to level up your sound design.
Here are a few ways you could use granular synthesis:
- Slowing down a vocal sample by chopping it into grains and overlapping them
- Making glitchy drums by granulizing a drum loop
- Creating glitchy textures by taking random snippets from a field recording
Because granular synthesis is based on samples, you can create any number of unique timbres. You’re only limited to the source material.
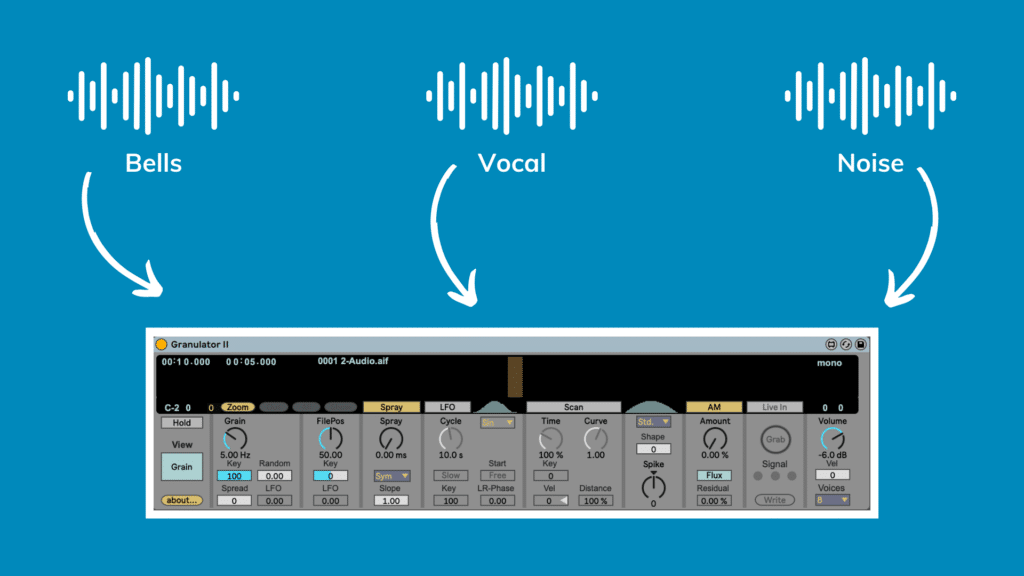
Because it’s sample-dependant, it’s important that you have a good bank of samples to choose from. So make sure to spend some time curating beforehand.
To understand how a granular synth transforms these samples, let’s look at the basic functionality!
The Basics Of Granular Synthesis
There are many knobs on a standard granular synth, but not all of them are essential to the sound.
However, there are a set of ‘standard’ controls, even though every synth has a different set of terms for each of them.
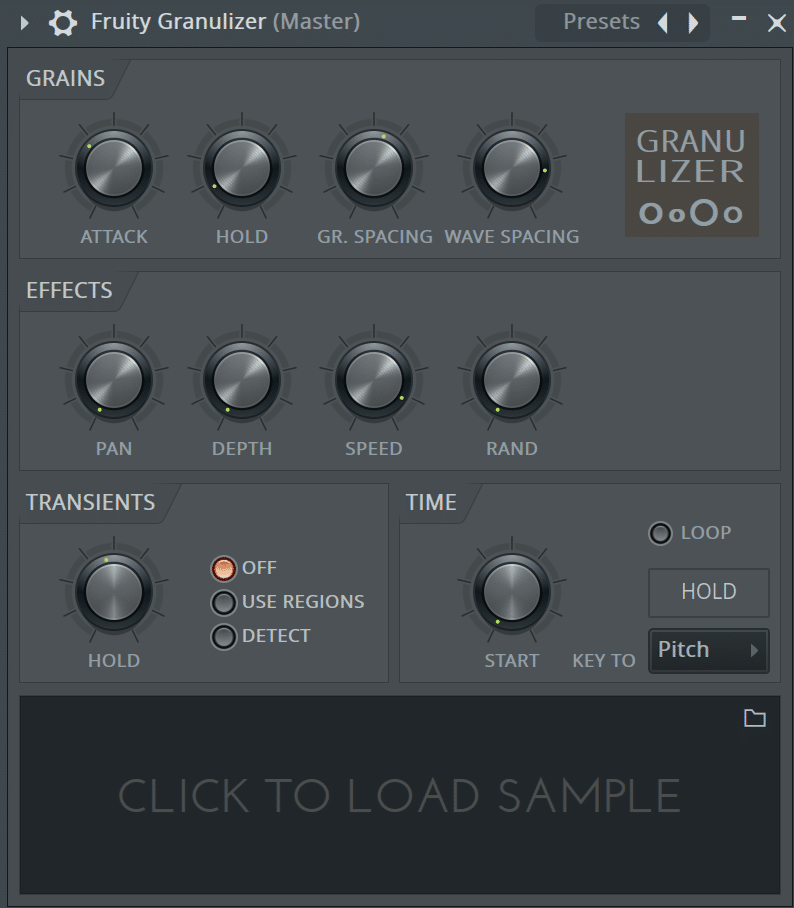
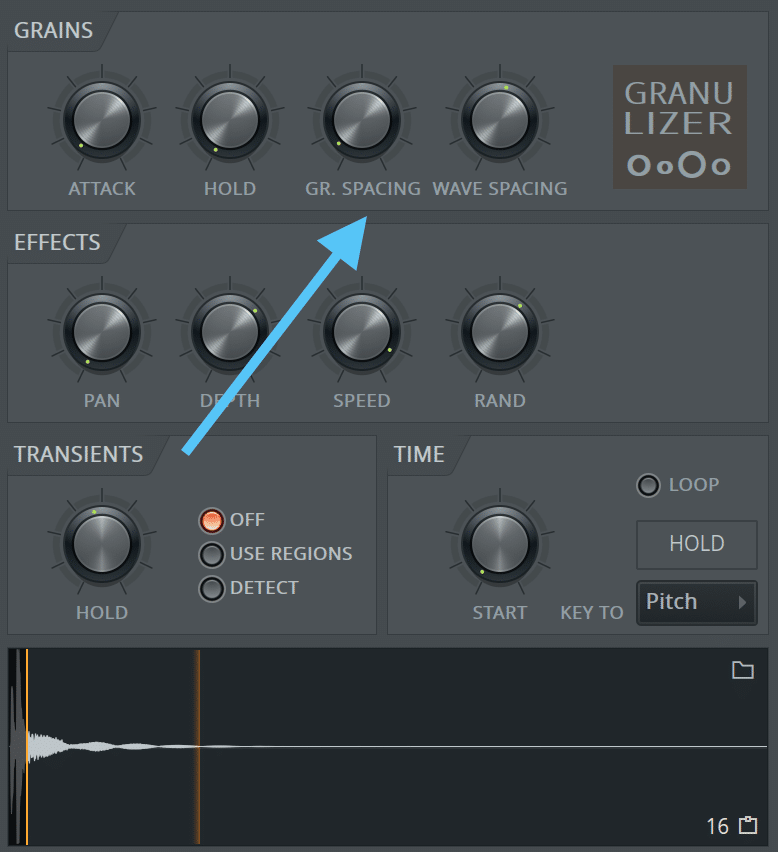
As you can see, FL Studio and Ableton Live‘s native granular devices look very different from each other:
The most important thing to understand is that no two granular synths are created equal. But although the above two options do function differently, there is some overlap.
Let me cover the main three controls you’re likely to come across on most granular synths:
Grain Size
Also known as: duration, size
A granular synth chops a sound down into individual grains. The length of this is normally in the millisecond range or Hz, known as the Grain Size.
If your grain size is in Hz, less is longer. If you’re in ms, more is longer.
Shorter grain sizes create glitchier sounds, whereas longer sizes bleed into each other. This is why the longer sizes are really nice for pads and ambient FX.
Rate
Also known as: grain spacing, shape
The gap between these grains also plays a huge role. This is usually known as the Rate or Grain Spacing.
This gap determines the ‘smoothness’ of the granular sounds, as more overlap will sound smooth and more gaps will sound grainy.
Some granular synths (i.e. Ableton Live Granulator II) don’t have a Rate control. Instead, they use a ‘shape’ parameter to control the envelope of each grain. Although this is technically different, it’s the closest thing.
In the case of Granulator II, you control the ‘Spike’ parameter to make the edges sharper or smoother.
Position
Also known as: start time, file position
Lastly, the exact start point of the sample can drastically change the end result.
For example, if you’re using a vocal sample, at one point the vocal may be creating an ‘oooh’ sound, and at another point an ‘ahh’ sound.
If you’re using a drum loop, this will determine if you’re processing a kick, snare, or hat.
And if you’re using a musical loop, it will determine which notes will be chopped up.
Which part you use will make a big difference, especially if you’re scanning through the waveform.
Other Controls
Beyond this, granular synths can differ on the other options offered to mangle the sound.
Many of them also feature the traditional feature set of most synths, such as ADSR envelope and pitch controls.
Here’s a quick rundown of what you might find:
Pitch
This allows you to change the pitch of the sample. You may have some modulation options here so you can change the pitch with each grain (Rnd in Granulator II).
Often, changing the MIDI note will also change the pitch of the sample too. But be aware that the original pitch of the sample may not align with the MIDI note. You can manually align this if you like.
Reverse
Not all synths have this option. But if yours does, this normally changes the playback movement so it scans backward through the sample instead of forwards.
Great for those lovely reverse textures – everything sounds good in reverse.
Scan
Scan changes the start position with each new grain, moving through the sound over time.
Great if you want to retain the motion of the original sample. For example, you’re granulating a vocal sample and want to hear the word the singer is speaking still.
Random/Spray
This control randomizes the start position of each grain. The resulting sound is more inconsistent and organic.
I personally love using this on melodic and pad sounds, because it can turn anything into a lovely soundscape.
ADSR & Other Standard Controls
Shapes the volume or filter envelope to give the sound a certain characteristic (plucky, smooth, consistent, etc.) This is usually for the overall note, not the ADSR of each grain.
You’ll also find the standard set of controls that most synths have – filtering, volume control, and LFOs.
Many granular synth plugins will have even more options, but these can get quite advanced. I would encourage you to explore these once you have nailed the basic controls above.
A Quick Note On Granular FX
In this article, we’re mostly talking about granular synthesis.
But sometimes you’ll see granular FX plugins, which affect the incoming audio and chop it up using the above parameters.
This is another fun way to use granular processing in pretty much any context. We’ll cover some of these FX plugins later.
Now let’s see how we can use these on some actual samples!
Examples of Granular Synthesis In Action
As you may have gathered, granular synthesis is all about experimentation. So there’s no right or wrong way to use it.
That being said, it’s ideal for FX sounds, basses, and pads.
Let’s take a look at each of these – I’ll be using the Ableton Live Granulator II for these examples.
Bass Granular Synthesis
Taking a heavy bass sound and running it through a granulator can be a really interesting way to get some trippy textures.
Here’s the bass sample I’m going to use for this example:
After loading it up into Granulator II, I’m going to move the file position to the start. I’m also going to enable the ‘Scan’ feature so it plays through the sample from start to finish.
Now I can tweak the grain size until I get a nice tonal yet clean sound. I’ll also use a bit of spray to randomize it.
Lastly, I’ll play it 3 notes down from the original note to get a nice aggressive sound.
At this point, I could add additional post-processing and resample until I get the sound I want.
But basses aren’t the only sounds you can put in a granular synth. Let’s try making a pad out of a piano.
Pad Ambience Granular Synthesis
Chopping chordal or pad sounds into grains can give you an everlasting bed of sound to work with. Especially when adding reverb and delay.
I’m going to start with a piano chord sample and turn it into a pad:
Let’s load it up into Granulator II and mess around. For pads, normally longer grains work well as they will overlap to create some smooth textures.
So you can decrease the Hz or increase the length, depending on your synth.
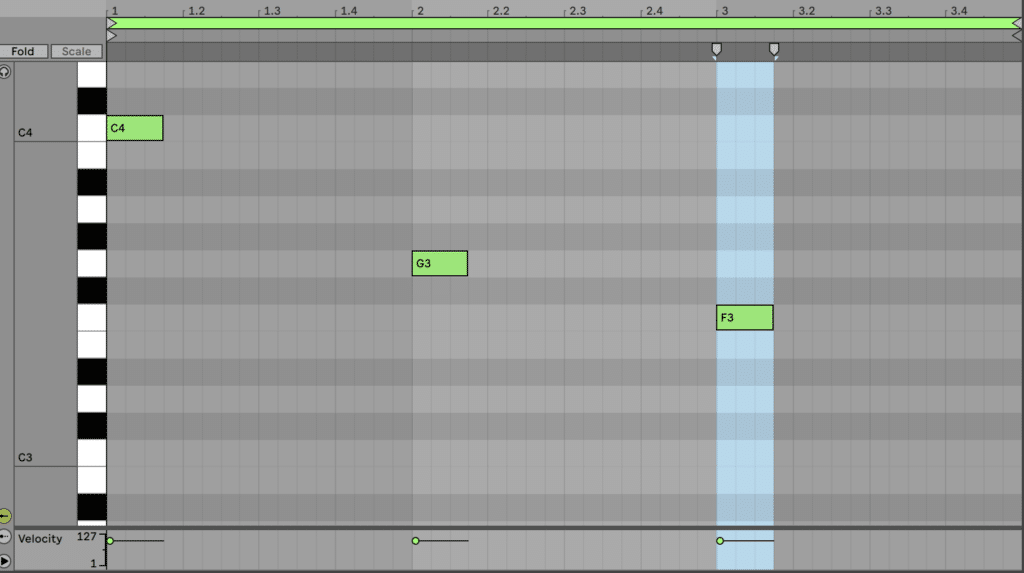
I’m also going to program a few notes so we can hear this in action:
Now let’s add a few more changes to make this more pad-like. I’m going to extend the ADSR release out to about 4 seconds, so each note overlaps into the next.
To make this sound even more smooth, I’m going to move the file position a little forward so that the harsh attack of the piano is cut off.
I’ll also increase the ‘spray’ in to make the sound a little less predictable, and more like a pad.
Lastly, I’m going to use the ‘scan’ feature to move through the sound a little, adding more to the organic feel of what I’m trying to achieve. Slowing it down (going over 100%) will help this effect.
I’ve also topped this off with a bit of reverb, which is a must if you’re making pads.
Here’s the final result:
Finally, let’s look at creating some glitch-type effects by mangling some foley sounds.
Glitchy FX
The graininess of granular synthesis means that you can turn pretty much any sound into a cool glitchy effect.
I’m going to start with a sound from our Foley Sample Pack (Boat Perc 10.wav – you can grab the full pack for free below) I mentioned earlier, and drag it into Granulator II:
Because I want this sound to be truly random, I’m going to leave the file position in the middle and bring the ‘spray’ up to around 1 second, which is about the length of the sample.
This will mean that each grain will be at a random point in the sample.
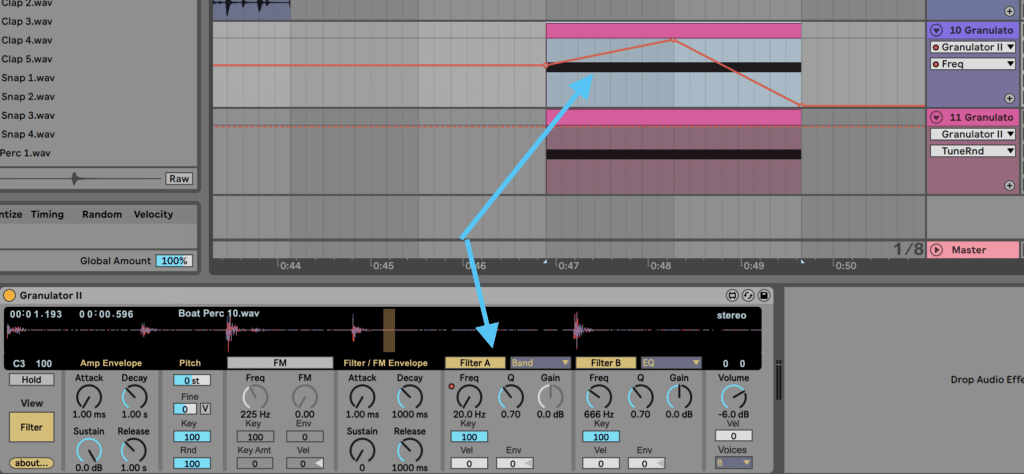
Now we can make this even more random. I’m going to add some random pitch modulation by switching to the Filter View and increasing the ‘Rnd’ control:
Lastly, you can activate the filters and move the cutoff, giving the sound a ‘sweeping’ effect. I’ve used a bandpass filter in this case:
Here’s the result!
That’s just a few of the many ways you can use granular synthesizers to create unique sounds.
But the possibilities also change depending on the tool you’re using. So here’s a number of different granular synthesis plugins and devices, each with different strengths:
The Best Granular Synthesis VST Plugins (Free & Paid)
It’s time to pick a granular synth that works for you. Although there are hardware options out there, it’s easiest to start with software.
The first 3 here are all stock tools, so if you’re in Ableton Live, FL Studio, or Logic Pro X, it’s best to start with what you’ve got.
If you’re looking for something a little more advanced, or you don’t have access to a stock granular synthesizer, there are other free/paid options below as well.
Let’s dive in! 👇
FL Studio Fruity Granulizer (Free)
Fruity Granulizer is one of the best stock granular synthesis tools and it’s sworn by many FL Studio users.
As are a lot of their stock plugins:
The simple interface and amount of control over the sound make it a joy to use and create something with that grainy goodness.
Here’s a quick breakdown of how it works.
At the top, you have the “Attack”, “Hold”, “Grain Spacing” and “Wave Spacing” controls.
Let’s use an example to illustrate how these affect your sound. I’m going to use the following vocal sample:
By increasing the attack, you smooth out the start of each sample:

The “Hold” control sets the length of each grain. “Grain Spacing” sets the time between each grain. Finally, “Wave Spacing” controls how many grains are generated from the sample.
Let’s see how these controls affect our sample.
In this first example, I am setting the Wave spacing close to 0% and the Grain Spacing all the way down. This creates a slowed-down effect:

This is what it sounds like:
Here’s another example:

And this is what it sounds like:
Fruity Granulizer is a ton of fun to play with. You can create weird, glitchy effects – or huge, atmospheric ambiances.
Ableton Live Granulator II (Free)
As you would have seen throughout this guide, Ableton Live’s Granulator II is a powerful tool for chopping and processing sound.
It’s a Max For Live device, meaning you’ll need Suite or M4L access to use it. Simply grab it from the ‘Packs’ section of your Ableton Live browser.
Key Features:
- Visual feedback of grains
- Scanning and grain-shape modulation
- LFOs to move the start position
- Left-right offset
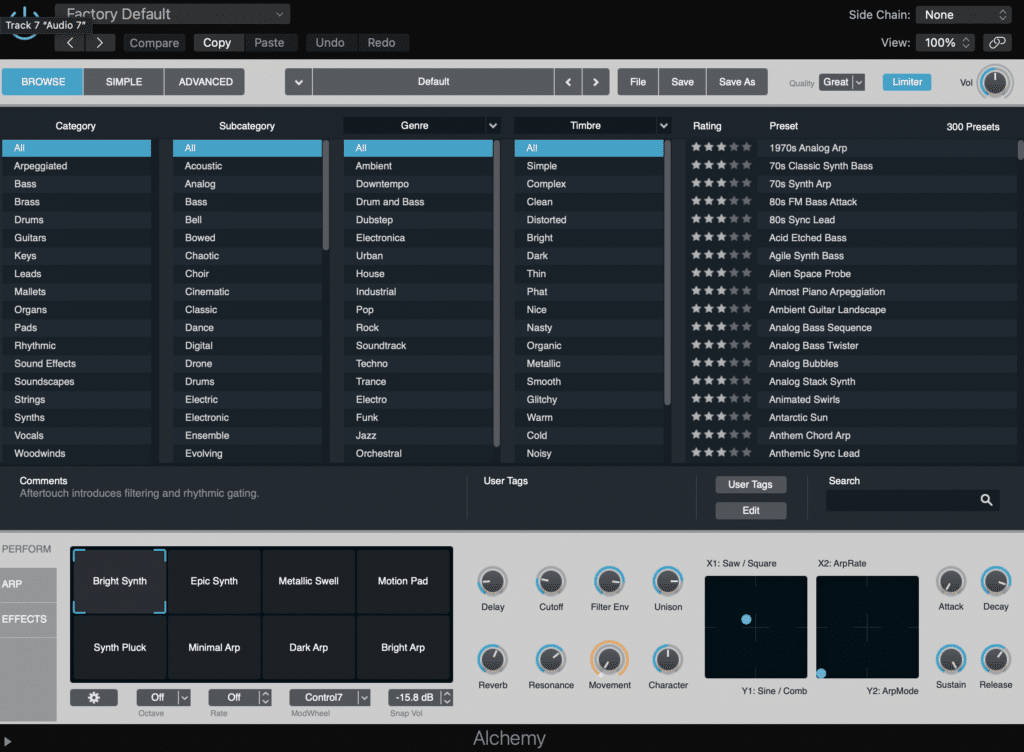
Logic Pro X Alchemy Granular Synthesis (Free)
When Apple acquired Camel Audio many years ago, there was hope that they would continue supporting the Alchemy plugin.
Nowadays, you’ll only find it exclusive to Logic Pro X.
Unlike the other options, Alchemy isn’t strictly a granular synth. It combines subtractive, sample-based, and granular synthesis to create a range of unique textures.
Key Features:
- Incredible preset library – lots of options
- Macros for easy sound tweaking
- Switch oscillator types depending on the desired sound
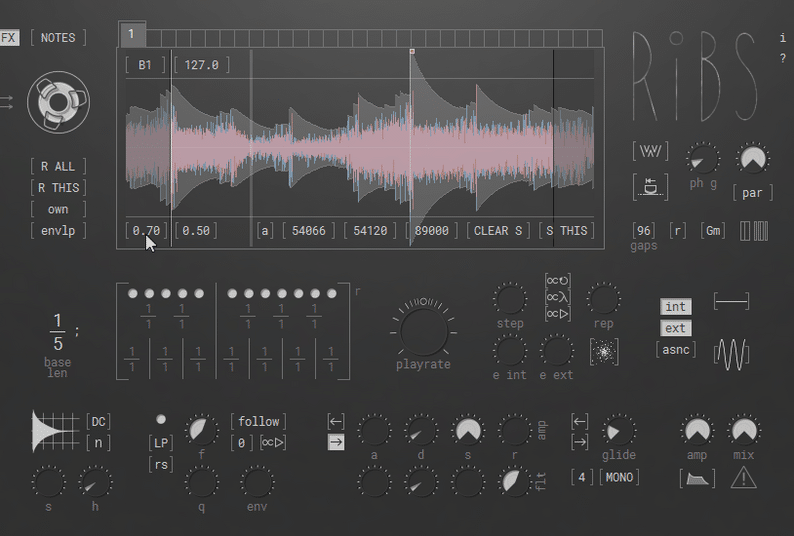
Hyova Audio Ribs (Free)
If you’re not in Logic, Ableton, or FL Studio and are needing a free granular synth, Ribs is a solid contender.
Although it comes with a very trippy interface, there’s a lot of power under the hood once you’ve spent a bit of time with it.
Key Features:
- Dedicated FX mode (for using as an audio effect)
- Inspiring interface
- Crazy amount of controls for endless fun
- Beat mode for syncing with your host DAW
- Forwards and reverse movement
To check out the power in this synth/FX unit, check out their tutorial video below:
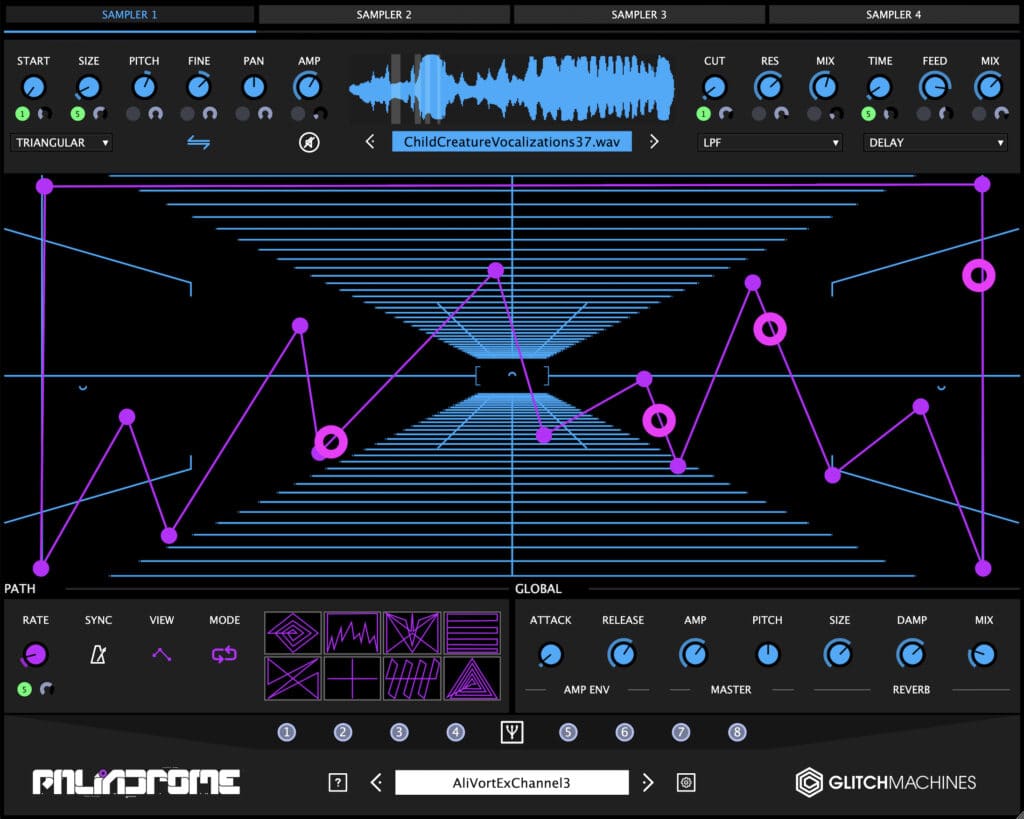
Glitchmachines Palindrome (Paid)
With Palindrome, you come for the interface and stay for the features.
In all seriousness, it’s an insanely powerful tool and really fun to use. The Morph Plotting in the center of the interface is a particular favorite, which allows you to blend between 4 sets of granular processing.
Key Features:
- Up to 4 samplers for combining different sounds
- Global settings to control the overall sound
- Morph plotting and paths for endless creative sound fusions
- Inspiring preset library
Note: if you love glitchy FX plugins, check out their other free options on our free VST plugins list.
Sound Guru The Mangle (Paid)
The Mangle is probably one of the top paid options for a solid, utilitarian granular synthesizer.
Don’t be confused though – it still has tons of creative options for modulation. It also has a very clean interface, so you won’t be confused by what’s happening.
Key Features:
- Pitch and tempo locking for interesting rhythmic & tonal effects
- Kickstarter sample library for great starting points
- XY plot for changing start position and rate
- Reverse and panning of grains
Now let’s go over a few granular FX plugins. These aren’t synths, but you can process any audio with them to get that nice, grainy sound.
Output Portal (Paid)
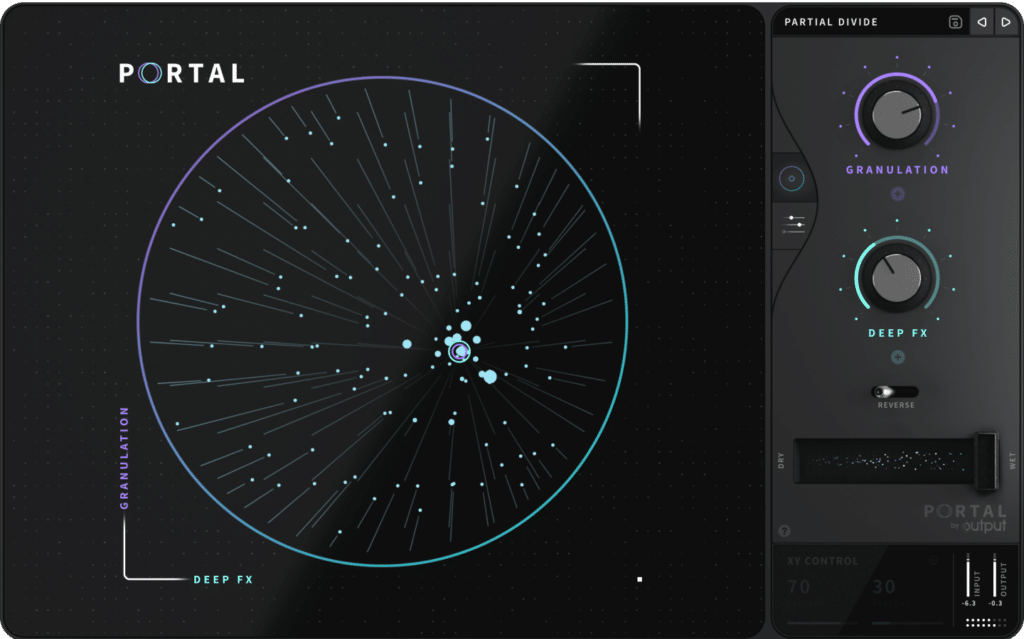
I mentioned Portal a bit earlier in this guide for a good reason. It’s technically not a synth, but more of a granular-based FX plugin.
It can input any sound and output a beautiful mess of grainy goodness. Combined with other creative FX, you can find instant inspiration whenever you like.
Key Features:
- Clean, simple layout for instant results
- Visual feedback
- Advanced mode to control modulation sources, timing and much more
- Dry/wet with the original sound
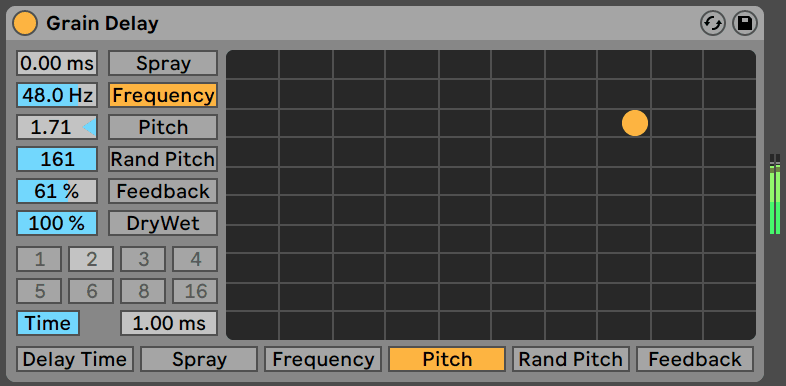
Ableton Live Grain Delay (Free)
Grain Delay is one of my favourite Ableton stock devices because you can get so many trippy textures with it.
One of my favourite ways to use it is to put the Pitch up +12 and get a cool octave grain effect.
Key Features:
- Spray to randomize grains
- Grain frequency for rate control
- Pitch controls to move the grain pitches over time
- Feedback to re-route the grains back into itself
- Dry/wet to blend
Soundtoys Crystallizer (Paid)
Crystallizer is a lovely plugin because it’s equally unpredictable as it is useful:
Crystallizer is one of my favorite delay plugins (and one of my favorite Soundtoys plugins too).
Here’s what it can do:
You can hear how it gives this beautiful, ethereal feel 🤩
Crystallizer takes the incoming audio, and breaks it into “splices”. Each slice can then be pitched with the “Pitch” knob. You can even feedback some splices to be re-pitched with the “Recycle” knob!
If you want even more control, hit the “Tweak” switch:

This will let set more advanced parameters for the grains, such as:
- EQ’ing with a low-cut and high-cut filter
- Attack and release
I particularly like to play with the high-cut to make the effect more subtle:
You also get an enormous preset library. There are so many great options for instant sound mangling (Emeralds is particularly cool).
Other Features:
- Reverse or forward grains
- Gating/ducking with threshold to add motion based on the dry signal
- Recycle grains for feedback effects
- MIDI syncing and timed controls
- Input and output gain to get analog saturation
Audio Damage Quanta 2 Granular Synthesis
Quanta 2 is Audio Damage’s updated version of its granular synth Quanta 1:

It can take your sound from this:
To this:
Quanta 2 offers some interesting options. You can for example layer in 2 additional oscillators:

Here’s one trick I like to use. Load up a sample, then play it one octave lower on your keyboard. Link the “Position” knob to one of the knobs on your MIDI controller. Now, you can sweep across the full sample to create interesting textures:
Other cool features include:
- Limit grain pitches to certain notes
- Add effects such as chorus, delay and reverb
- LFO modulation
Beyond Granular Synthesis
Hopefully, you can now grasp the unlimited potential of granular synthesis.
If you’re wanting to dive deeper into the complex work of signal processing and mangling audio, I’d recommend you check out MaxMSP and start coding your own solutions.
But most of us just wanted to get started. And as you’ve seen, you need good sounds to work with.
That’s why we’ve created the EDMProd Foley Pack – loaded with over 150 samples from creeks to metallic sounds. Grab it for free below
Missed anything in this guide? Let me know at [email protected].


