A vocoder allows you to reshape the harmonic structure of a sound so that it sounds similar to another sound. The classic talking robot vocoder effect that everyone is familiar with is created by providing a synth with the harmonic structure of vocals. This guide will demonstrate the sound of vocoding, explain how vocoders work, and teach you how to set up a vocoder.
What Vocoders Sound Like
Jacob Collier’s rendition of “Hide and Seek” demonstrates a vocoder in action. In the following video, his dry vocals are mixed with vocoded duplicates, which leads to some very interesting vocal harmonies.
How Vocoders Works
Vocoders require two types of signals to function as intended. They need a modulator signal, which in the previous video was Collier’s vocals, and they need a carrier signal, which was the synth Collier was playing.
The modulator signal (vocals) runs through a series of bandpass filters that split the signal into different frequency ranges. Each band then has its signal level analyzed by a level analysis meter.
The carrier signal (synth) runs through a different series of bandpass filters, and the level of each filter is linked to one of the previously mentioned analysis meters.
While the exact harmonic structure of the modulator isn’t captured, a general representation of it is. Using more bandpass filters will cause your carrier signal to sound more like the modulator signal.

How to Set Up a Vocoder
Let’s take a look at how to properly set up a vocoder. For demonstration purposes, I’ll be using Ableton’s Vocoder, but the same concepts apply regardless of the vocoder you’re using.
1. Create a Track for Your Modulator Signal (Vocals)
If you’re using vocals as your modulator signal, create an audio track. This can be done by pressing [CMD]+[T] in Ableton.
2. Create a Track for Your Carrier Signal (Synth)
Unless you’re using an external hardware synth, create a MIDI track and load your synth of choice onto it. You can create a MIDI track in Ableton by pressing [CMD]+[Shift]+[T].
Once you’ve created this track, deactivate it by toggling off the Track Activator in Ableton’s Mixer Section; this will mute the output.
3. Add a Vocoder to The Track With The Modulator Signal (Vocals)
Place your vocoder on the track containing the vocals. By default, the vocoder won’t provide the effect you’re looking for, so some additional setup is required.
4. Set The Carrier Type to “External” and Select a Sidechain Input Source
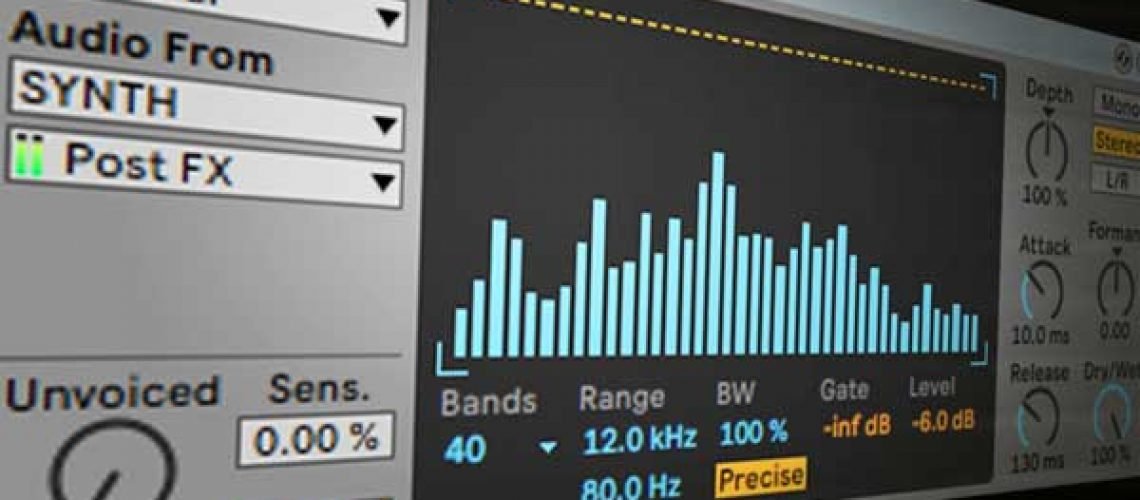
Change the vocoder’s Carrier Type to “External” and set the sidechain input source to your synth track post FX. If you tap the signal post mixer, there will be no sidechain input signal because you previously muted the synth track.
5. Refine The Vocoder’s Settings
Some key parameters that you should consider adjusting include the number of bands, Envelope Depth, and the Dry/Wet knob.
More bands will result in a more accurate analysis and a more intelligible output signal. Envelope Depth controls how much of the modulator’s envelope is applied to the carrier’s signal, and Dry/Wet controls the balance between processed and dry signal.
The following image contains my recommended vocoder settings; feel free to modify these settings as necessary to fit the project you’re working on.

Make sure to follow Black Ghost Audio on Facebook, Twitter, Instagram, and YouTube to stay up to date on the latest music production tips and tricks. There’s new content every week, and I don’t want you to miss out.


