Drift is a friendly, MPE-ready, hardware-inspired synth that’s now included in Live 11.3. Since anyone with Live 11 – even Live Lite users – will get it free, let’s go straight to the source to understand the instrument. We took the chance to talk to Marc Resibois, the instrument’s creator, about how Drift was developed – and get his tips on sound creation and some of the sound features you might otherwise miss.
By the way, I’ve known Marc – aka Marc Nostromo – since before he was at Ableton. In another life, he was also a chip musician, sometimes also going by the name [M-.-n]. So you can bet we got into some detail about how this thing came about.
How Drift came to be

CDM: What motivated this project at the start?
Marc: We have regular breaks from the pure production stuff where we take two weeks, and can do explorations on our own – pretty much whatever we want. I realized I had a certain type of emotional connection with some hardware synths that I couldn’t easily reproduce using our devices. So I got into the exploration of that – that was the first seed.
What was an example of a piece of hardware that you did connect to?
KORG Minilogue would be one. But I also looked at various elements from other synths I have like the Moog Grandmother, Korg MS-20, Make Noise 0-Coast, Arturia MicroFreak, – things like that. I tried to look at what triggered this emotion. One element was the slight detuning that would happen when voices play together. If they’re detuned, there’s going to be this very slow beating between the two that animates the sound. They’re not mathematically perfect. They’re not completely in sync. And it’s kind of nice; so it started like that.
I started making a really simple subtractive-style mock-up. At that point, it wasn’t an official project. I contacted Robert Henke, who fortunately was available because it was in the midst of the pandemic and explained to him what I was after. I sometimes refer to most of our previous synths as being ‘construction kits:’ It’s up to you to put the life in them yourself. I was interested in something that would have life on its own. Instead of spending time on the sheer size and number of controls, I wanted to make sure everything was really well calibrated in terms of signal path and features. So we started exchanging ideas and what could be done. And we evolved the original mockup. Once that mockup started to look more like a real instrument, it became an official project and a team was formed to reflect the various aspects needed for it to become a final product (development, ux/ui, content, etc.). Without all the contribution of everybody involved, Drift would not have become what it is now.

Drift is a good reflection of what I like: devices with a relatively small amount of controls, but that have a personality built in. Drum Buss was the same. When I did Drum Buss, I wanted something that felt like hardware – that had a set stance in terms of character, but not a lot of controls.
Drift plays with familiar concepts, which makes it a really good synth for beginners, too. It’s not overwhelming; it’s still like a classic subtractive synth. What I wanted it to be is this best friend synth – the one you reach out to when you need a sound and you don’t feel like going through a lot of presets. You just grab it because you know it well, it’s simple and you can easily get a sound that you like. A go-to synth. It’s an easy one to approach for beginners, but nonetheless has a good amount of depth and sounds great so more seasoned people can enjoy it.
Understanding Drift’s components
Let’s start with the filter. I’m curious about Type I and II. Can you describe the models? And why just these two, as opposed to the filter options in other Devices?
Having only two filters goes in the direction of simplicity. And it allowed time to get them really well calibrated . The more you expand the options, the more difficult it is to do.
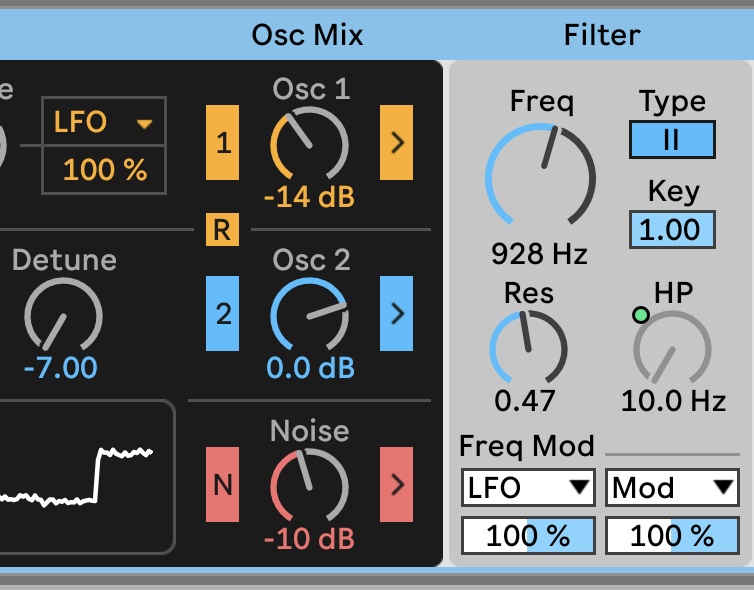
Type II is one of the MS filters – the 24 dB Cytomic MS-20 filter, which is also available in other instruments. And Type I is a new one that we licensed – it’s called DFM1. It’s a filter that has existed for a long time in SuperCollider. And I know the person who did that filter, Tony Hardie-Bick, maker of the Entity synth. I knew the filter for a while and always liked how it sounded. I thought it would work really well in this context, so we reached out to him and asked him to do some updates to the original version – the fact that we could use it vectorized, so we could render four voices in some go, and some other DSP updates.
The two filters have a very different distinct color and behavior – and that’s why we labeled them I and II rather than 12 dB (Type I) and 24 dB (Type II). They’re not the same. They do have a different calibration; they have different ways of reacting to frequencies.
And then there’s a highpass filter.
Having a high pass is useful. There’s not much magic here, it’s fairly vanilla but it’s handy to have around.

Can you talk about the oscillators? The visualization was an important feature here, too, it seems.
Yeah, we want it to be friendly for beginners. So that was a good way of showing what happens.
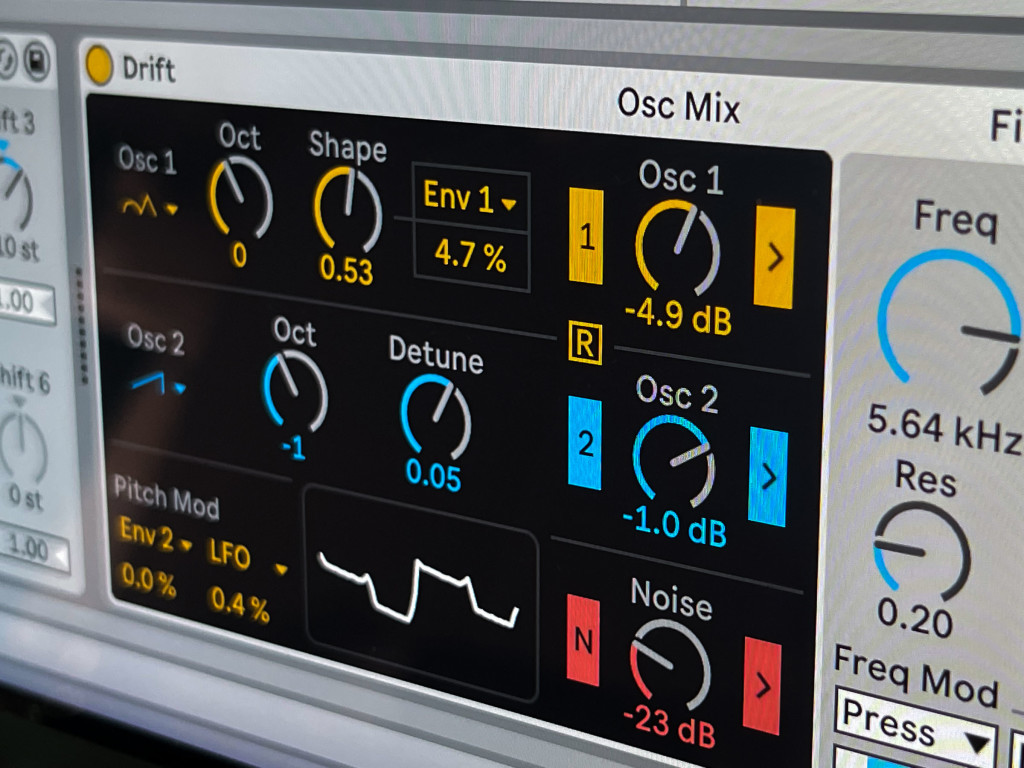
The available oscillator shapes are the usual suspects but there are two new shapes. One is the sharktooth one, which is also a classic variable shape oscillator in the Moog style – which I found really pleasing sonically. It has this weird slight bend when you play with the shape, like it goes a little out of tune. And that’s super nice. And then there’s the saturated shape. That one happened by accident, which is something that happens to me a lot. I was trying to make a some variations around saturated waveforms but messed it up. But I got something that was equally interesting – and I found it worked really well for basses. So we kept it.
It was fairly important that we didn’t get the same timbre for every one of them – that each oscillator with its associated shape would get you in a different territory.
I guess that has roots in analog instruments – they’ll have these sort of idiosyncracies. It’s just something about the character about the instrument sounds in reality.
Yes, for me that’s the everlasting question – what’s happening with acoustic instruments. It’s so amazing – even picking a string from a guitar has so much depth.

How about the titular drift parameter – what happens when you adjust that?
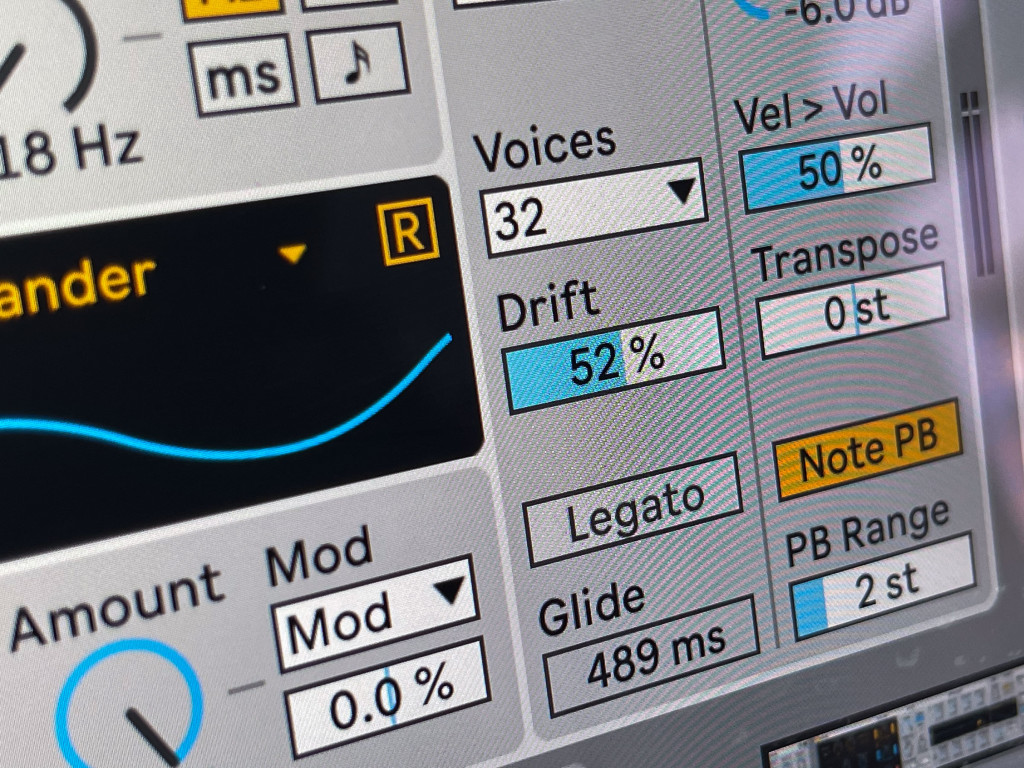
There is a random detuning applied to both oscillators and the filter frequency. Each of them is randomly detuned from the main frequency, so that you will get these beating sounds. Depending on the settings of those random numbers, their interaction will be slightly different.
Every voice in Drift has a different randomization for those three elements. It’s like a voice card you’d have in analog synths where every voice card would have a slight detuning due to component changes and would have a slightly different timbre. The drift parameter itself increases or decreases the amount of this randomization, this random tuning. The more you increase drift, the more the gap between oscillators, and also the filter widens, and the more out of tune it becomes.
An interesting note on that – whenever you create a new preset or a fresh instance of Drift, this instance is randomized from a seed we call the serial number. When you reload the presets, it also reloads this serial number. So the randomization used when you first adjusted the patch will be restored, so you get exactly the same sound as before.
That randomized aspect of the sound is recalled when you reload it or share a patch with someone else.
Sound design ideas
Do you have an approach you take to Drift when making a new sound?
Personally, I go mostly by ear. So I will start with messing with the filter and the oscillators to start with – and that will trigger something in my brain that will want to do something else out of that. I don’t have a recipe for it. I’m just going by instinct. But I’m just an instrument builder, my trade is not to make good presets. It’s a specific skill and we have a team of talented people to do that. They were involved very early in the feedback process when we built the instrument which was great. They did a fantastic job, I think the preset we have really shine’
One really nice thing when creating sounds is that nearly all controls are directly available in the front panel. Most of the work was about finding that balance where you deliver a wide spectrum of possibility while keeping that immediacy. It felt like we could achieve a lot with that. The only hidden part is the mod matrix that allows us to do more modulation.
What is wander – it seems like a kind of sample and hold with some kind of slew?
It’s a sample and hold with an S shape – a sigmoid – for the connection rather than a straight edge. You do a sample & hold and then you interpolate between the two values at the rate of the LFO.
It’s also relevant that you have this MPE support onboard, too, yeah?
At this point, it would be strange for us to deliver a synth that doesn’t integrate MPE. Since a lot of care has been taken in calibrating the modulation influences on parameters, you benefit from it from the MPE angle too. So if you take advantage of that, you get a really nice and expressive synth.
And tips for sound ideas to try that – maybe people might miss?
I think there are a bunch of features that no one noticed yet. For example, in the modulation tab, you can modulate a lot of stuff – including the mixer gain for each oscillator. That means that you can, for example, apply a shorter envelope to one of the oscillators and use it only as a transient, while the other would be sustained.
You can also prevent an oscillator from going through the filter. So you can decide that one of the oscillators goes straight to the VCA, and the other one is filtered.

Coming back to the the oscillator gains, if you modulate them with an envelope and set the amount to 100%, when the envelope is fully open, it will get the volume that’s set in the mixer, and it will be silent when the envelope is closed. But then if you put the amount to -100%, the action of the envelope is inverted – that means it’s going to be silent, when the envelope is fully open, and when the envelope is closed go up to whatever level you’ve set.
Using this you can, for example, crossfade the oscillators.
Another thing is, when you boost the mixer it’s going to start distorting the filter input. It will start to overdrive above 0 – then as you get close to 6, there’s a second stage that comes in that’s even stronger. One is before the filter, asymmetrical clipping, typical of what you’d have in the Moog Grandmother for example. And the other one is after the filter, so it’s going to distort the resonance, for example.
If you use resonance modulation in the mod matrix, you can get stronger resonances than what you can get from the UI. In the UI, we wanted the range to be nice and smooth. But if you use the envelope to modulate the resonance of the filter, and you start really cranking the oscillator volume or the mixer gains, then you will get really harsher distortion sounds. I don’t think a lot of people have discovered that yet.
The second envelope, you can make it cyclic – which gives you the choice between an envelope and an LFO. And the LFO also has some envelope shapes – the one-shot shapes. So you can play with that aspect.
Now looking back on it, any reflections on how Drift has evolved?
Back to the beginning of the conversation, something like the Grandmother – you couldn’t make it more simple, right? But it sounds great. It’s very simple to use but you can also use the patch cords to do clever stuff if you want to. Most of the time, whatever you do, it sounds wonderful. That’s really what I’m connecting to.You don’t necessarily need something complex to really enjoy the output.
Finding that balance takes time and I think it’s important that you have to make it a guiding principle and always pay attention to it. I’m always afraid of making a mistake and destroying some magic because I’m focused on some technical implementation detail. Because sometimes I don’t really know where it comes from.
It’s the beauty of music – there’s a lot that is really hard to explain. You’re listening to a track, and suddenly you have chills. You can try to analyze it as methodically as you can. You’ll probably never be able to reproduce it – it is something that speaks to you very directly and maybe the person next to you doesn’t feel anything. It’s fascinating to me.
Thanks, Marc! If folks find they have questions as they use Drift, let us know.
The new Push grid makes good use of Drift’s various parameters, too, and really makes this feel like hardware. The video from last week showing the expressive grid is relevant to that:


