Baby Audio’s Smooth Operator Pro is a new, expanded version of the resonance suppression/spectral dynamics processing tool. Four years in the making, this version has a new UI and workflow, upgraded engine with per-node controls, stereo and mid/side processing, sidechaining, and more. Here’s a detailed guide to approaching this not just for correction tasks, but some creative use and abuse – as a spectral addition to your typical EQ and dynamics tools.
Resonance suppression and spectral dynamics tools
Okay, that was a mouthful of a header but – that’s the only way to say this precisely. Let’s review. Smooth Operator Pro is part of a field of plug-ins that have enjoyed relatively recent popularity: dynamics processing that works in the spectral domain. That’s not the same as a multiband dynamics processor, though these tools do often give you multiband controls: they operate on the complete spectrum via FFT, allowing them to adapt as the signal changes, for focused reduction of particular frequency content over time. The resulting sound, once adjusted, can make mixes sound clearer, less harsh, and effectively louder.
Resonance suppression is a popular use case for this. The “old-fashioned” way of dealing with resonance spikes in signal was manually sweeping through frequencies with an EQ, focusing on that band, and cutting the frequency. But apart from that being annoyingly time consuming, the process is fairly destructive, especially as the EQ curve is fixed, rather than changing in time as a dynamics processor does. Using a spectral tool allows you to work more flexibly and adaptively while preserving more of the source material in the process.
Baby Audio did their own explanation of this last summer:
What is a Dynamic Resonance Suppressor? How to Fix Harsh Frequencies In Your Mix
If you build a really effective spectral dynamics tool, it can take a place alongside more conventional dynamics and EQ tools. This can be easily overstated; I think you still want to apply these tools selectively. But with the conventional tools so well covered already, it’s great to have this additional way of working. Instruments, vocals, drums, and synthetic parts with added harshness or resonance can especially benefit. (You’ll see marketing for these tools focus on acoustic recordings, but a lot of the leftfield synthesis and processing tasks I advocate are also notorious for generating unruly resonance.)
And as some of you know or have already guessed, resonance suppression and even mix “bettering” is not the only use case. A detailed spectral dynamics tool can be used creatively and in sound design, too.
Smooth Operator has some competition, most notably from oeksound soothe2, which even has a similar interface and aesthetic. And like soothe2, Smooth Operator has a “focus” control for easily adjusting how precise the emphasis on peaks impacts attenutation.
Baby Audio’s tool already had two major things going for it. One, it’s not as expensive as soothe2. Baby Audio’s rent-to-own option covers everything they make for fifteen bucks a month, now including even the excellent Denise Audio lineup, or you can grab the $79 intro pricing. Unlike rental-only subs, you’re investing in a perpetual license over time. And even at full-list, Baby Audio is more able to target independent producers and not just high-end customers.
Two, Smooth Operator’s interface was by far the simplest and most approachable. The only downside was that the usability came at the expense of some additional features, like sidechaining and stereo imaging. And that brings us to Smooth Operator Pro.
What’s new
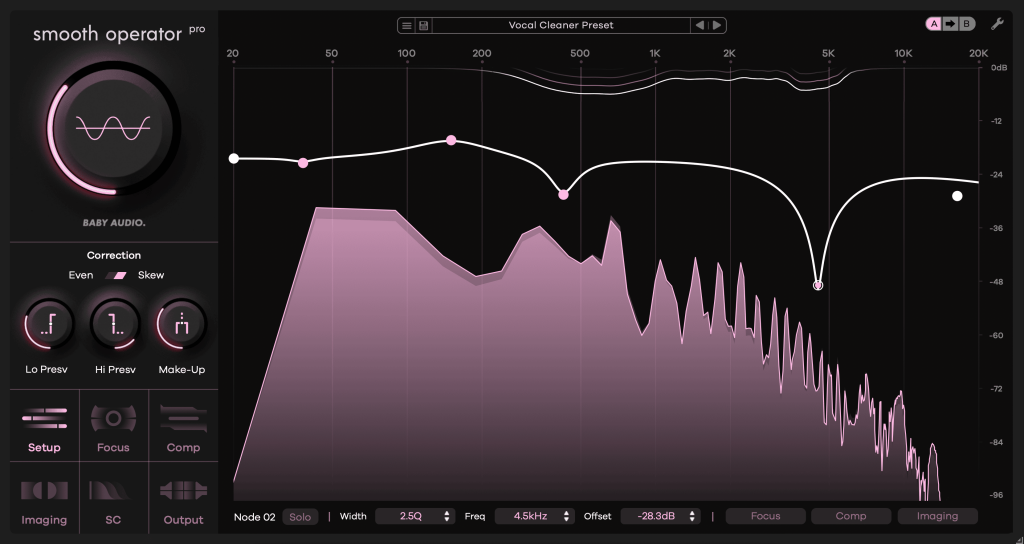
Smooth Operator’s basic workflow and operation are the same – and I’d argue it’s the fastest, most direct on the market. You set the target curve you want, then adjust the threshold knob, and you get rebalancing. Now you get more control:
- Per-node override of every setting for more precise control (including adjusting focus, compression, and stero imaging by band)
- Improved performance
- New engine underneath with better sound quality
- New core algorithm with two correction algorithms: Even and Skew
- Overhauled UI (still simple, looks even better – and in keeping with other recent Baby Audio creations)
- Sidechaining
- Stereo and mid/side imaging
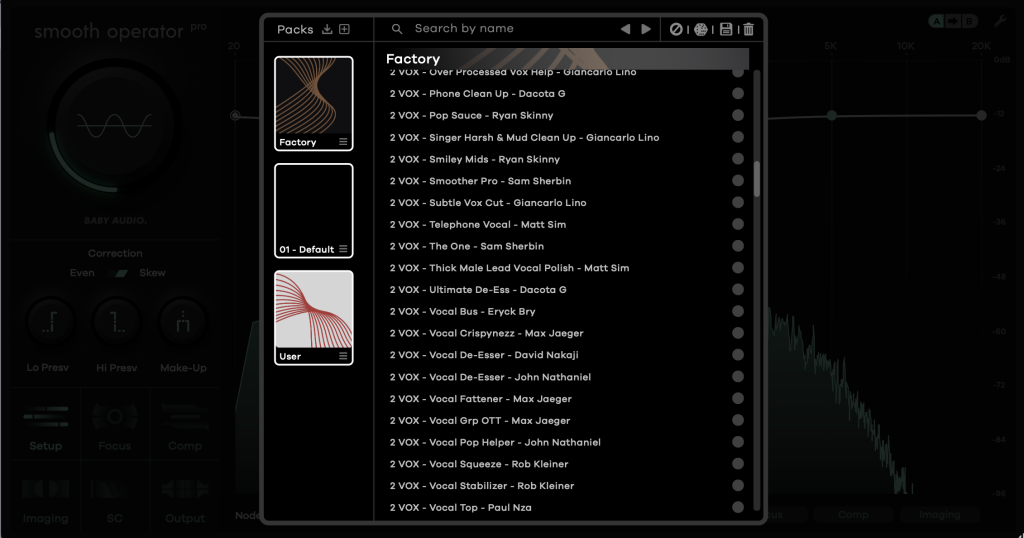
- New presets including some big names Craig Bauer, Max Jaeger (Ariana Grande, Drake, Diplo), Preston Reid (Chris Brown, Usher, Muni Long) and Ryan ‘Skinny’ Shanahan (Zedd, Lady Gaga)
That’s a big deal, though, because the per-node selection of focus, compression, and imaging is something that are only global in other tools (even oeksound). Baby Audio has essentially managed to put more functionality in a simpler interface at a lower cost.
Some of you I know were hoping for a free upgrade, but the $29 upgrade price on this gives you almost an entirely new experience. The magical focus/reduce/done feeling is still there, but every other detail is now more precise.
I’ve had access to late betas and been working with the plug-in a lot. I liked the original a lot, but was honestly a bit hesitant to apply it too often. The combination of a better-performing engine and more control in Pro do help you to find a home for this in your working methods. There are even cases where you’d consider using this on a mix bus or even as part of mastering.
https://babyaud.io/smooth-operator-plugin
Also available (with 40% off intro price through June 1) via Plugin Boutique
Compatibility: VST, VST3, AU, AAX (64-bit); macOS 10.11+ (Apple Silicon/Intel) and Windows 10+.
There’s a free trial, which is good because – honestly, you should test drive this rather than trust a review.
Here’s Michael talking about how you’d use this in mixing work:
Interface tour, working step by step
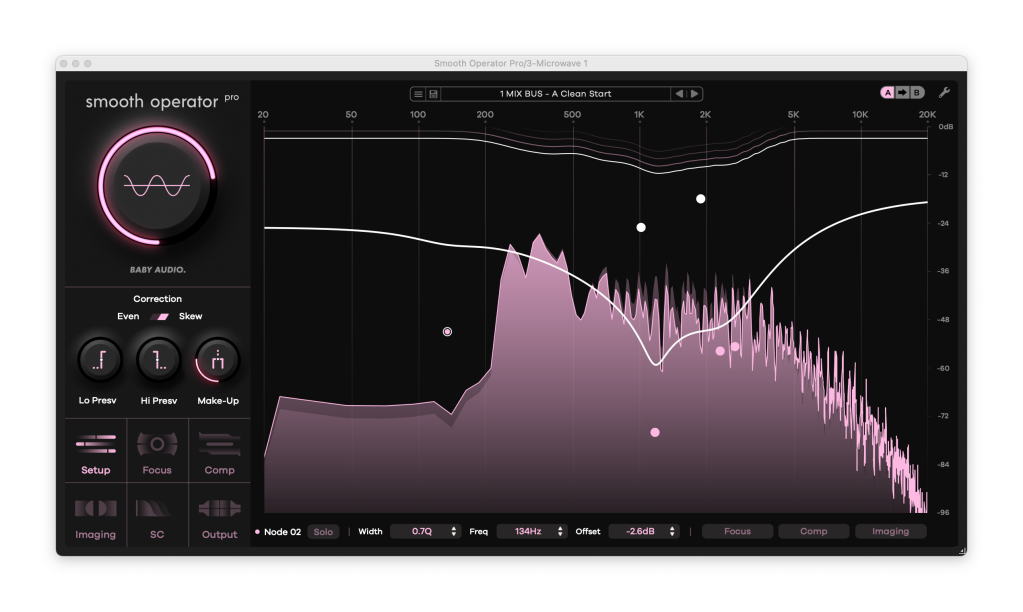
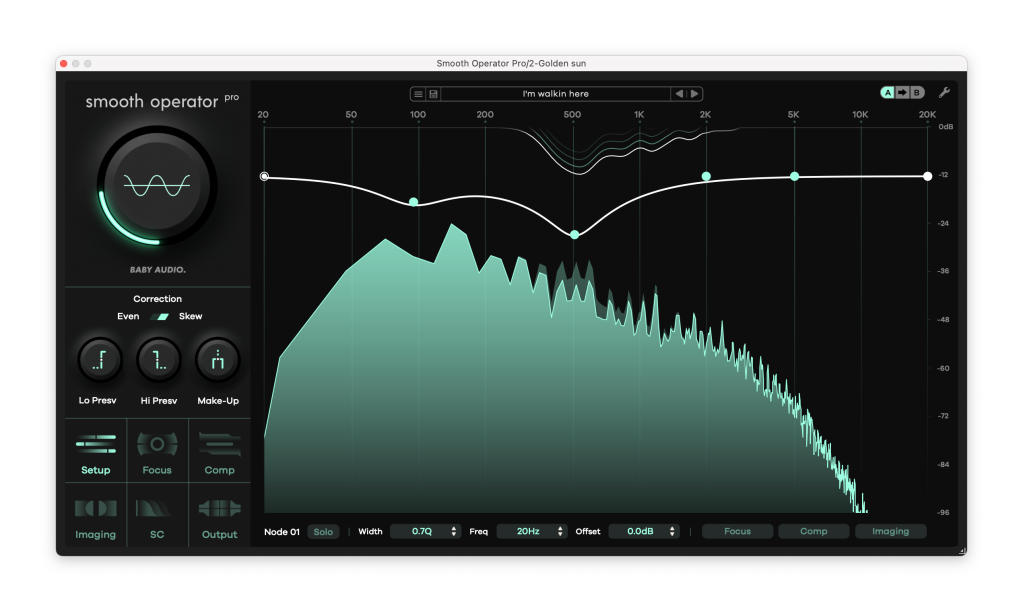
Let’s break down the updated UI. In addition to the source visualization, the “reduction meter” waveform at the top, shows you the amount of spectral peak leveling across the spectrum – how much reduction is actually happening. You still have the Global Threshold at top left, but then you have more detailed precise controls:
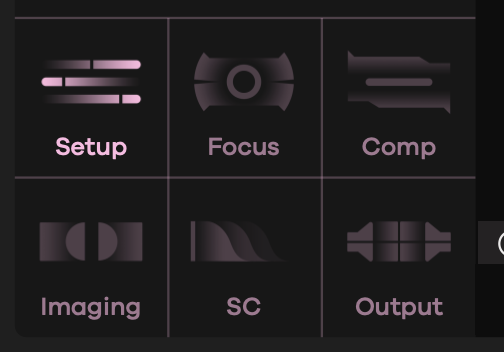
On the left-hand side, you get different modules for focusing on related parameters without overcrowding the interface – much like we’ve seen in Baby Audio’s Transit:
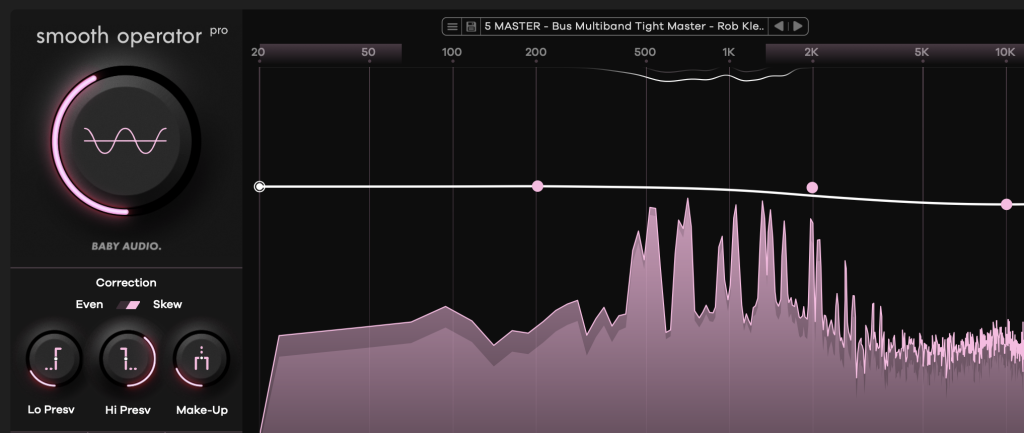
Choose Setup, and you can set correciton type (even/skew). High and low preservation (bottom left) let you control frequency bands to exclude. I’ve set these to extremes for illustration purposes: if you look at the top, the lightly colored bands across the frequency indications shows those excluded frequencies.
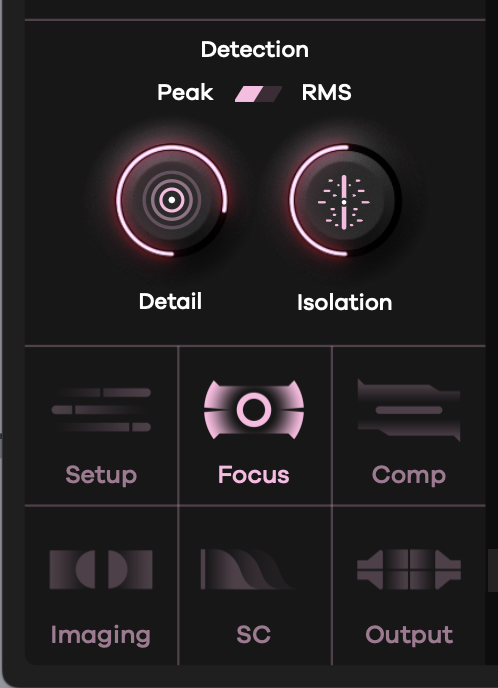
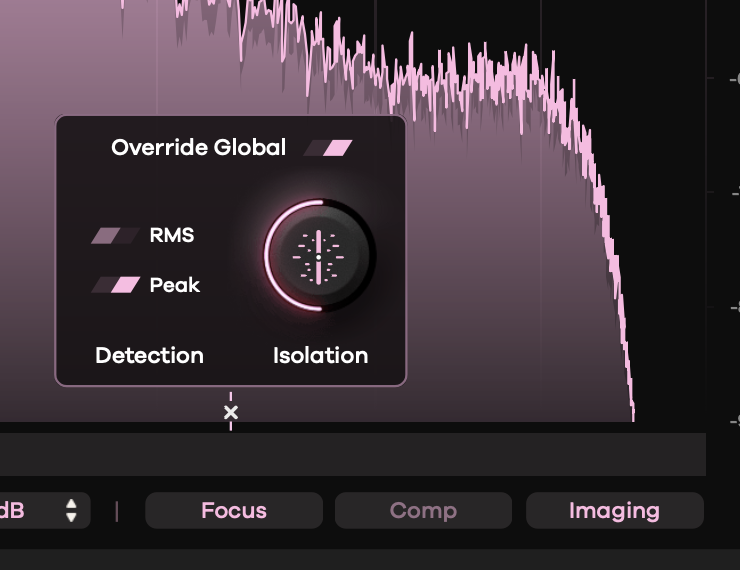
Focus lets you set peak/RMS modes and Detail or Isolation to fine-tune the algorithm’s response by resolution and peak detection boundaries, respectively.
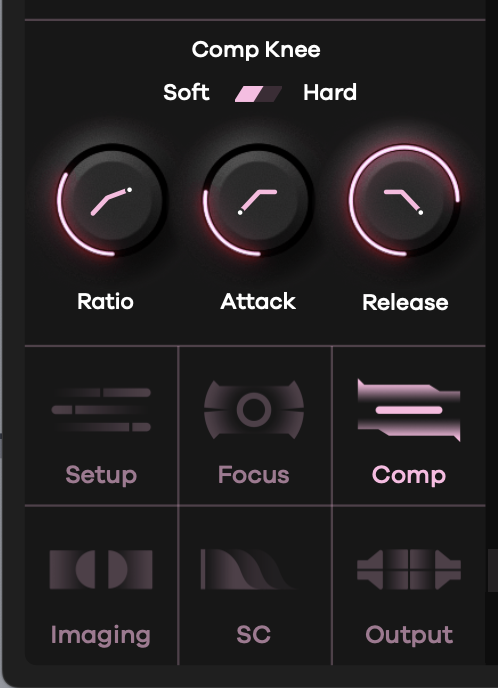
Compressor gives you conventional dynamics processing controls.
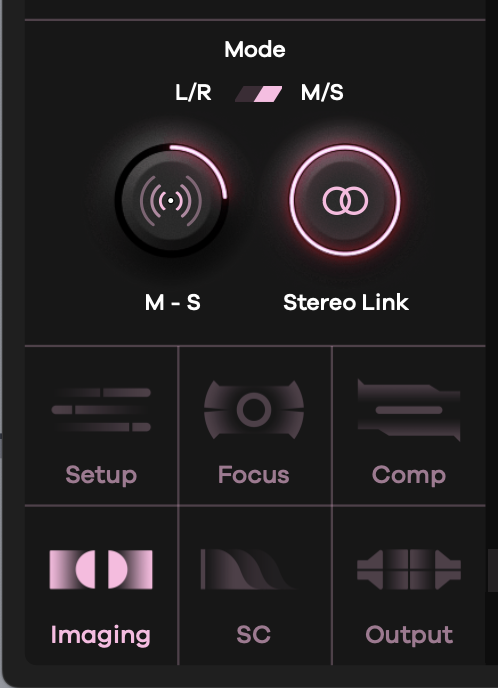
Imaging now gives you stereo and mid/side processing options. You can even perform some stereo widening tricks with this thing, or use this for more fine-grained control of reduction inside the stereo image.
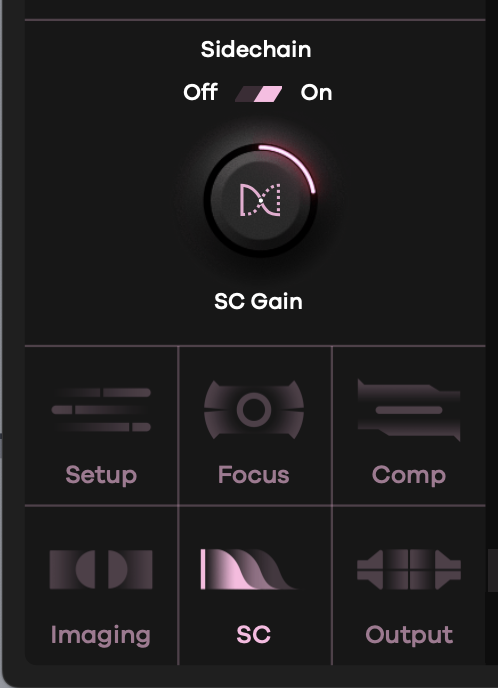
Sidechaining is straightforward – but I used this a lot.
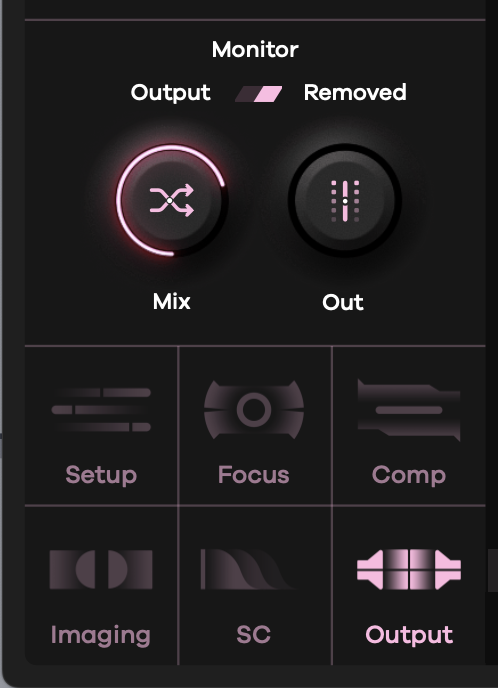
Output lets you control wet/dry level and solo just reduced frequencies if you desire.
Along the bottom of the interface, there are EQ-style controls for each node. But there’s more: Focus, Comp, and Imaging overrides allow you to set the same settings per-band, not just as a global parameter.
You still have easy A/B comparison, which is essential and an important ear-check to make sure you’re not tricking yourself into thinking the plug-in is doing something useful when it isn’t. The added feature here is that rather than just having a “dumb” A/B, you can at any time copy parameters from the A slot to the B slot with the arrow.
A chat with the developers
I spoke to Michael Hahn and the team at Baby Audio about how they envision this, and got some tips.
How to get started:
I’d say a good way to get a sense of what Smooth Operator Pro can do is start with a harmonically rich source that has some dynamic activity to it.
Something like a full mix or a busy sample that contains some stereo information will really let you see what happens when you can adjust all these parameters individually per node.
Try experimenting with aggressive settings and you can see just how easy it is to reshape a sound when you can take a big bite out of its harmonic content in any frequency area.
I was curious about exactly what changed in the updated engine and algorithms (“2.0”):
The algorithm has been upgraded across the board, but one of the big changes was improving on how the plugin transitions between different processing areas.
Since the controls can be set so differently across the frequency spectrum, it’s imperative that the effect sounds as smooth as possible as it transitions from one group of settings to another.
The way we’ve built it, it’s no problem to use really extreme settings for narrow parts of the spectrum. The transition between processed and unprocessed areas is always gradual and natural to the point where it’s basically invisible.
I’m not as big a fan of one-knob plug-ins, so to me the node controls make this far more appealing. I asked Michael about how to think about working with nodes:
The per-node settings are insanely powerful once you get your head around how they work. You can create up to 10 peak nodes in addition to the two high and low shelving nodes, so you can get completely surgical if you want.
I usually find I’m using 2-3 nodes at a time for complex material where I want to treat the lows and highs differently, or there’s some kind of problem happening in a specific range.
I tend to prefer higher isolation settings for thinning out spiky top end since the distribution of frequencies gets denser as you go up. But to me, Smooth Operator Pro sounds especially good on lows nd low mids and the default node settings often work really well to clear that out to my ears.
Yes, you can use this for mixing and mastering
There are some beautiful results you can get with the new release – especially with these improved algorithms. Here’s a quick example where I was playing with two tasks: one, reducing some unruly weird resonance and harhsness in a sound patch I’d created, and two, giving the overall mix some greater loudness and livening up a dull sound. You might be able to achieve the same with EQ and dynamics, but not as effortlessly. (Give me more time, I might come up with more examples but – in the interest of transparency, I’ll go ahead and share!)
Sidechaining
This is not just a sidechained amplitude driving the signal – it’s a sidechained spectrum as the input. So you can use another input’s spectrum to rebalance the signal, meaning as the spectral content of the source changes, so, too, does the destination.
In the end, I found this is what I find I’m likely to use Smooth Operator Pro for the most. Conventional sidechaining has a very particular sound – it’s really just the sound of an envelope follower and its attack and decay. Here, you can almost surgically squeeze frequencies around one another, so that the typical use case of hoping a sidechain will make room in the mix now works transparently.
There’s another creative use case, too, which is to solo the reduced material. Now, strictly speaking this is not how this is intended to be used but – I love the effect.
Full tutorial
Use and creative misuse
It’s funny that everyone struggles a bit with what to call this. Is it about resonance suppression? (Dynamic resonance suppression, to be more precise?) Is it a clarity tool? A signal balancer? A mix better-er?
I think all of those things are fair, both for this and some of the rival tools. But I like just thinking about dynamic spectral processing. And I love that even with some AI-driven tools coming on the market, this lets you intuitively deal with the whole sound at once while retaining control. (You can even completely destroy your signal, but -that’s kind of the point, to give the user the actual power.)
Smooth Operator Pro builds on the intuitive frequency matching of the first version, but gives you precise per-node control that’s currently not available in any other plug-in.
Now, I have a lot more to say about spectral synthesis and processing in general – don’t miss out on Ewan Bristow’s stuff, a lot of which covers brilliant experimental spectral domain goodness. But that means I also wouldn’t miss out on using this to perform some unusual spectral tricks outside its designed purpose.
I’m not quite happy with the bank yet, but stay tuned as I’ll follow this with a select set of presets for breaking the rules a bit with Smooth Operator Pro.
But I think this is the best-sounding, most intuitive tool of its kind available. (Tape Op already declared v1 the best-sounding option, and it’s gotten even better.)
Meanwhile, you can check out the demo and see what you think:
On sale now at Plugin Boutique 40% off (If you buy something from a CDM link, we may earn a commission.)


