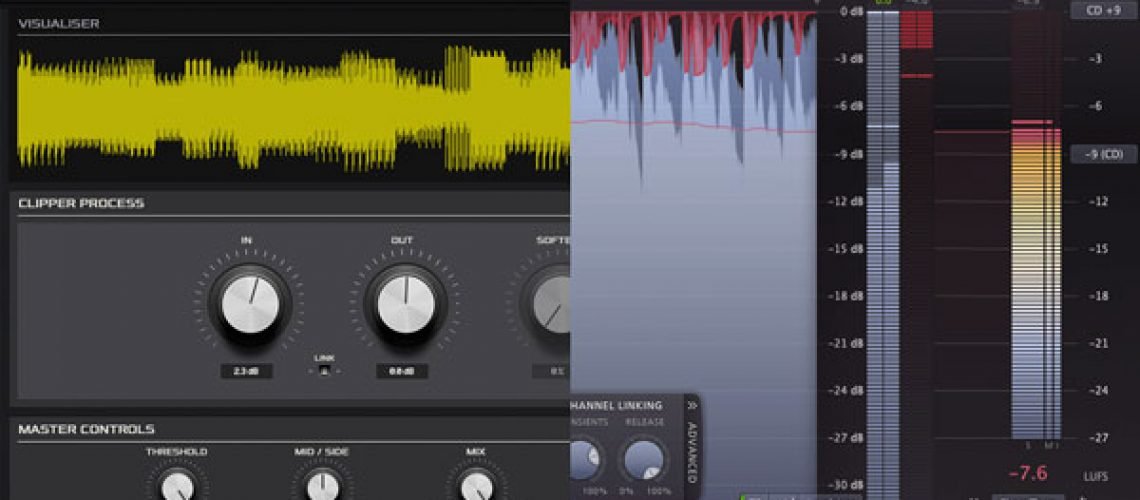
Clippers and limiters both prevent signals from reaching above the threshold level you’ve set, meaning they behave quite similarly to one another. The main difference between clipping and limiting is in the details of how processing is applied. Clipping produces a waveform that looks as though its transient have been sawed off abruptly, while limiting results in a broader and less destructive form of gain reduction. I’m going to demonstrate the difference using Kazrog’s KClip 3 (clipper) and FabFilter’s Pro L-2 (limiter).
If you set the attack and release time on the Pro-L 2 to 0 ms, and boost the input gain to apply 20 dB of gain reduction, the signal should sound like it’s clipping, right? After all, a clipper is just a limiter with a really fast attack and release time, isn’t it?
Kind of, but the Pro-L 2 doesn’t apply gain reduction fast enough to be considered a limiter. In comparison to KClip, you won’t hear nearly as much distortion introduced to your signal when applying gain reduction with the Pro-L 2.
So, why is this? Imagine trying to apply 2 dB of peak compression using fast attack and release settings on the Pro-L 2, only to hear your signal clip and distort instantly. Most users wouldn’t appreciate this because transparency is what many people are looking for when using a limiter—this leads me to believe that FabFilter intentionally designed the Pro-L 2 in a way that specifically avoids harsh clipping-style effects.
The following screenshot contains a side-by-side waveform comparison post-processing. 20 dB of gain reduction has been applied by FabFilter’s Pro-L 2 (green) and Kazrog’s KClip 3 (blue). The Pro-L 2 is using super-fast attack and release settings, but you’ll notice that the Pro-L 2’s waveform looks nowhere near as distorted as KClip’s waveform.

It looks like it’s safe to say that KClip applies gain reduction down to the sample, while the Pro-L 2 provides a broader form of gain reduction that avoids harshness and significant waveform distortion.
You can still achieve clipping-style effects using the Pro-L 2, but you need to go about this in a somewhat counterintuitive way. Instead of trying to limit the signal to introduce clipping effects, you should use a lookahead time that’s so fast, and an attack time that’s so slow, that the Pro-L 2 doesn’t have time to react to the input signal effectively. Doing this will produce an effect that sounds quite similar to the clipping effect produced by KClip.
I’m not privy to how the Pro-L 2 has been coded but based on the following side-by-side waveform comparison, my assumption is that it applies something closer to traditional clipping, internally, when it fails to catch transients. You’ll notice that the two waveforms now look much more similar to one another than in the previous waveform comparison.

The benefit of using a dedicated clipper like KClip is that it provides its own unique clipping algorithms, a mid/side knob, various quality settings, and a multiband mode. You can certainly exploit the Pro-L 2 to produce clipping effects, but KClip provides a little bit more control since it’s been designed specifically as a clipper.
Make sure to follow Black Ghost Audio on Facebook, Twitter, Instagram, and YouTube to stay up to date on the latest music production tips and tricks. There’s new content every week.


