So, looking for a guide on how to make Riddim? Someone who will teach you everything you need to know to create a Riddim banger? Well, you’ve come to the right place!
In this guide, we are going to go over all the main elements of a banging Riddim track, including:
- creating a kick and clap yourself;
- re-sampling some growly basses;
- building tension before the drop;
… and a lot more! Let’s get started.
What is Riddim?
Before diving into Abelton, let’s quickly go over what Riddim actually is.
Riddim is a subgenre of dubstep that focuses on heavy, repetitive basslines and a minimalistic approach to drums.
The genre originated from the UK dubstep scene and has a raw, gritty sound. Tracks often use simple, syncopated drum patterns and extensive use of wobbles and growls. The name “Riddim” itself comes from the Jamaican word for “rhythm”. Unlike more melodic dubstep, Riddim focuses on its underground feel.

Artists such as Coki helped shape the early sound of Riddim. Today, artists such as Subtronics and BadKlaat are pushing the boundaries of Riddim.
Step #1: Setting up our Riddim Project
Before selecting any samples or doing crazy sound design, let’s set ourselves up for success.
And this means preparing our project (bonus point if you already have a template).
Namely, we are going to do 2 things here:
- set the right tempo;
- structure our track based on a reference track.
Many producers overlook this step, but it will save you so many headaches down the line.
In terms of tempo, Riddim is usually around the 140-145 BPM range. Let’s go with 140.
Next up, I’m going to bring in a reference track to get an idea for the song structure. This will give us a sort of “map” that we can follow as we start fleshing out our arrangement. Of course, we can always deviate from this structure later on if we want. The reference track here is SHUTUP by RAK:
For this, we are going to use some dummy MIDI clips:

Dummy clips are simply empty MIDI clips that you name and color to create your track structure. Here’s the rough structure we will start with:
- Anacrusis: 2 bars
- Intro Ambience: 8 bars
- Build (synths): 8 bars
- Build (drums): 8 bars
- False drop: 4 bars
- Drop 1A: 8 bars
- Drop 1B: 8 bars
- Build (drums): 8 bars
- False drop: 4 bars
- Drop 2A: 8 bars
- Drop 2B: 8 bars
- Outro Ambience: 8 bars
Boom! Now we have a really solid structure we can follow when building our track. Let’s delete the reference track from the project and start cooking 🔥
Step #2: Laying down some Riddim Drums
As is typical in most electronic music genres, let’s start with the drop. This is because the drop often features the most elements of the track (drums, bass, synths, etc.). So to build your other sections, all you have to do is start removing certain elements (I’m oversimplifying but you get the idea).

I’m preemptively creating a group channel because I know I’m going to process all my drums as a group. Pro tip to stay organized, name your groups in all caps 😉
For the drum pattern, Riddim has a classic two-step pattern, with a kick on the 1 and 3, and a snare/clap on the 2 and 4.
However, what sets Riddim apart is that you actually put a kick on the 2 and 4 as well. This kick tends to be quieter, and this is what creates that “whack” in Riddim.
Let’s start with the kick then.
Choosing the right kick(s)
Choosing the one, perfect kick drum is almost impossible. That’s why we always recommend layering different kicks together. The key is to only keep the parts that you like.
Let’s put that into practice with our Riddim kick drum.
For our first layer, I’m just going to keep the “click” of this kick:
This means shortening the sample and high-passing it. Here’s what it sounds like now:
Next, I’m going to layer in this kick here:

Next, I’m going to apply a simple limiter to control the peaks of my new kick. This is to make sure that we don’t have any transients poking through.
Finally, just create a new audio channel, set it to resample, arm it, and record our new kick!
Before we create our Riddim drum pattern, let’s bring in a clap.
Snares/claps
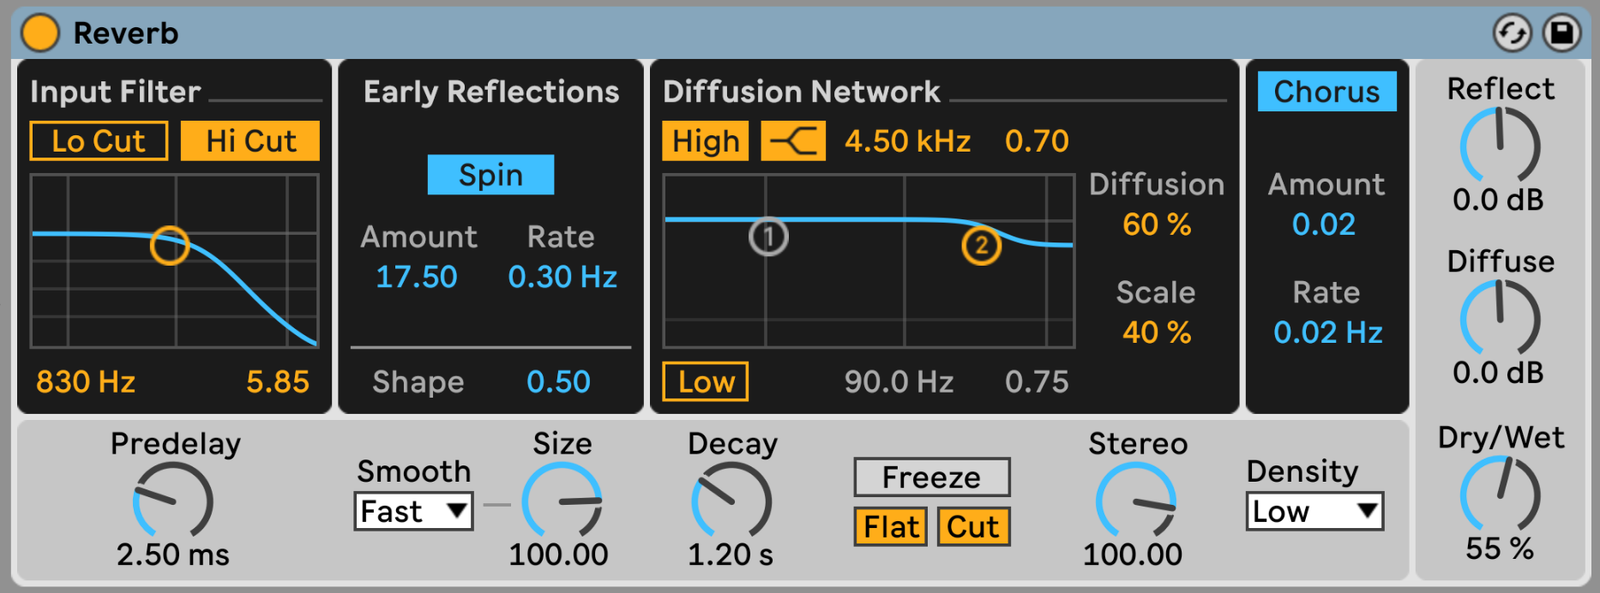
For this track, we are going to use a bright clap with some reverb applied to it:
Not bad, but I want a second layer that’s a little more thick. For this layer, I’m simply going to search Riddim sample packs, and I ended with this one that I like:
I’ve simply shortened the tail a bit so we don’t get all that built-in reverb:

Lastly, I’m going to layer in a snare to add a bit more weight to our main clap. I’m also going to add the tail of another snare on every second clap. This will give a tiny bit of variation and make our drums sound less generic.
Of course, at each stage here, I’m EQ’ing each sample to only keep the frequencies I want. I’m also clipping the claps group to remove some of the transient.
In the end here is what all the layers sound like together:
For now, I am going to leave the pattern pretty simple. This is the power of Riddim – a simple rhythm in the drums will allow for more variation and creativity in the bass.
Let’s simply add some hi-hats and call it a day for our drums.
The hi-hats
We are now going to add some offbeat hats.
Here’s the first sample I’m adding, only on the offbeat:

In terms of gainstaging, we want to mix the hat so it sits right underneath the level of the kick and clap.
I’m going to add a second hat layer to give it a bit more presence, then add some clipping to both hats together.
Clipping at each stage of the process in Riddim is crucial to get your loudness right by the end of the track.
To wrap it up, I’m going to add a single hat hit on each kick as well, but turn it down around 9dB so it doesn’t jump out:

It’s subtle but adds that little bit of continuity to our drum loop. And honestly, that’s good enough for now, so let’s move on to some bass!
Step #3: Adding a Fat Riddim BASS
Now in most tutorials, this is where we would do some sound design (usually in Serum). By the way, if you want to learn everything you need to know about Serum, check out our free Masterclass here:
But let’s switch things up a bit here and start from a sample. I’m going to use this loop from our free EDM Starter Kit and chop it up.
Here’s the loop:
Next, I’m going to chop a small section, set the clip to “Complex Pro” and pitch it down the octave. Next, I’m going to play with the timing and start points so that it fits with our drum loop:

Here’s what it sounds like right now:
Then, by pitching up and down individual samples, I can create a brand new melody.
Here’s what we got:
As you can hear, I’m fading in and out of each little bass sample. This is to give the kick and clap enough room to come through.
Bass post-processing
Now that we have our loop, let’s go wild on some FX!
Firstly, I’m going to bring out Roar, which is Ableton Live’s brand new distortion plugin (full tutorial on that right here):

After browsing some different shaper modes, I settled on “Noise”. I also boosted the Feedback amount to get that classic Riddim effect.
Next up, I’m going to do a bit more processing to really get the crunch out of that bass:
Here’s what our bass sounds like now:
Now if we just left that rolling for 3min, it would get pretty boring. So let’s spice things up.
Adding some bass chops
First I’m going to remove a bass hit. We’re then going to replace it with something different to create a bit of variation:

In terms of sound design, we always recommend to start with a preset. You can then change the wavetables, envelopes, filters, and more to make it your own.
Here’s what I’ve settled on here:

A few bars later, we are going to do the same process, but bring in another Serum preset:
Nice! Now our loop is really starting to take shape 😍
To wrap up our bass, I’m going to layer in a sub-bass:

Note that here, the sub-bass is just playing one note (the fundamental, in this case, D#). The only thing we need to pay attention to is that the envelope of our sub (i.e. how the sound rises and falls) matches that of our main bass sample.
To do this, set your LFO to control the level of the sub, set it to 1/4 note, then play with the ADSR parameters:

And we’re pretty much done for the bass! You can get even more creative by drawing some automation and modulation of the LFO rate of different bass sounds, the pitch, and a lot more.
Step #4: Creating an Intro that Instantly Hooks
Next up, let’s turn our attention to the intro.
The intro is often overlooked by most producers. But it’s a crucial part of your track to get right. Otherwise, people will quickly skip to the next track.
Let’s start with this sound, which is actually a bass chop with some delay and reverb on:
Next up, let’s create a nice synth pad in D# minor, which is the key of our track. Again, I’m going to simply start off with a Serum preset, and then tweak it to make it our own. I’m also going to layer in some train foley (because why not):
We also need some impacts to create a sense of tension:

I’m also feeling like a choir could fit in really nicely in here:
Cool! Finally, I’m going to add a few more impacts and FX, and the first part of our intro is already done.
If you’re looking for how to make a Riddim intro, the key is to create tension and a sort of creepy/haunting vibe.
Next up, let’s bring in some synths for part 2 of our intro:

Step #5: The BUILD Before the Drop
Now that our intro is pretty much fleshed out, let’s move to the build.
In essence, the build is simply the continuation of the intro, with more drum elements building up the hype.
A classic trick to achieve this quickly is to add a clap on each beat:

Here’s what it sounds like:
I also felt like a classic Amen break could work really nicely here. I’m going to fade it in, leading into the build:

Finally, for our build, I’m going to add the following elements:
- a kick build toward the end of the build;
- a shortened version of the choir that slowly pitches up;
- create a little silence gap by removing drum elements before the drop;
- a few reverse sweeps leading into the drop;
- add some automation to the lead, adding some bitcrushing and decreasing the volume;
- tease the bass.
All in all, this is what our intro + build sound like now:
Last Words on How to Make Riddim
That’s it for this guide on how to make Riddim! Hopefully, you found it useful and will be able to implement some of the tricks we showed you. Make sure to grab the full project file and sample pack for free down below, and drop us a line at [email protected] if you have any questions!


